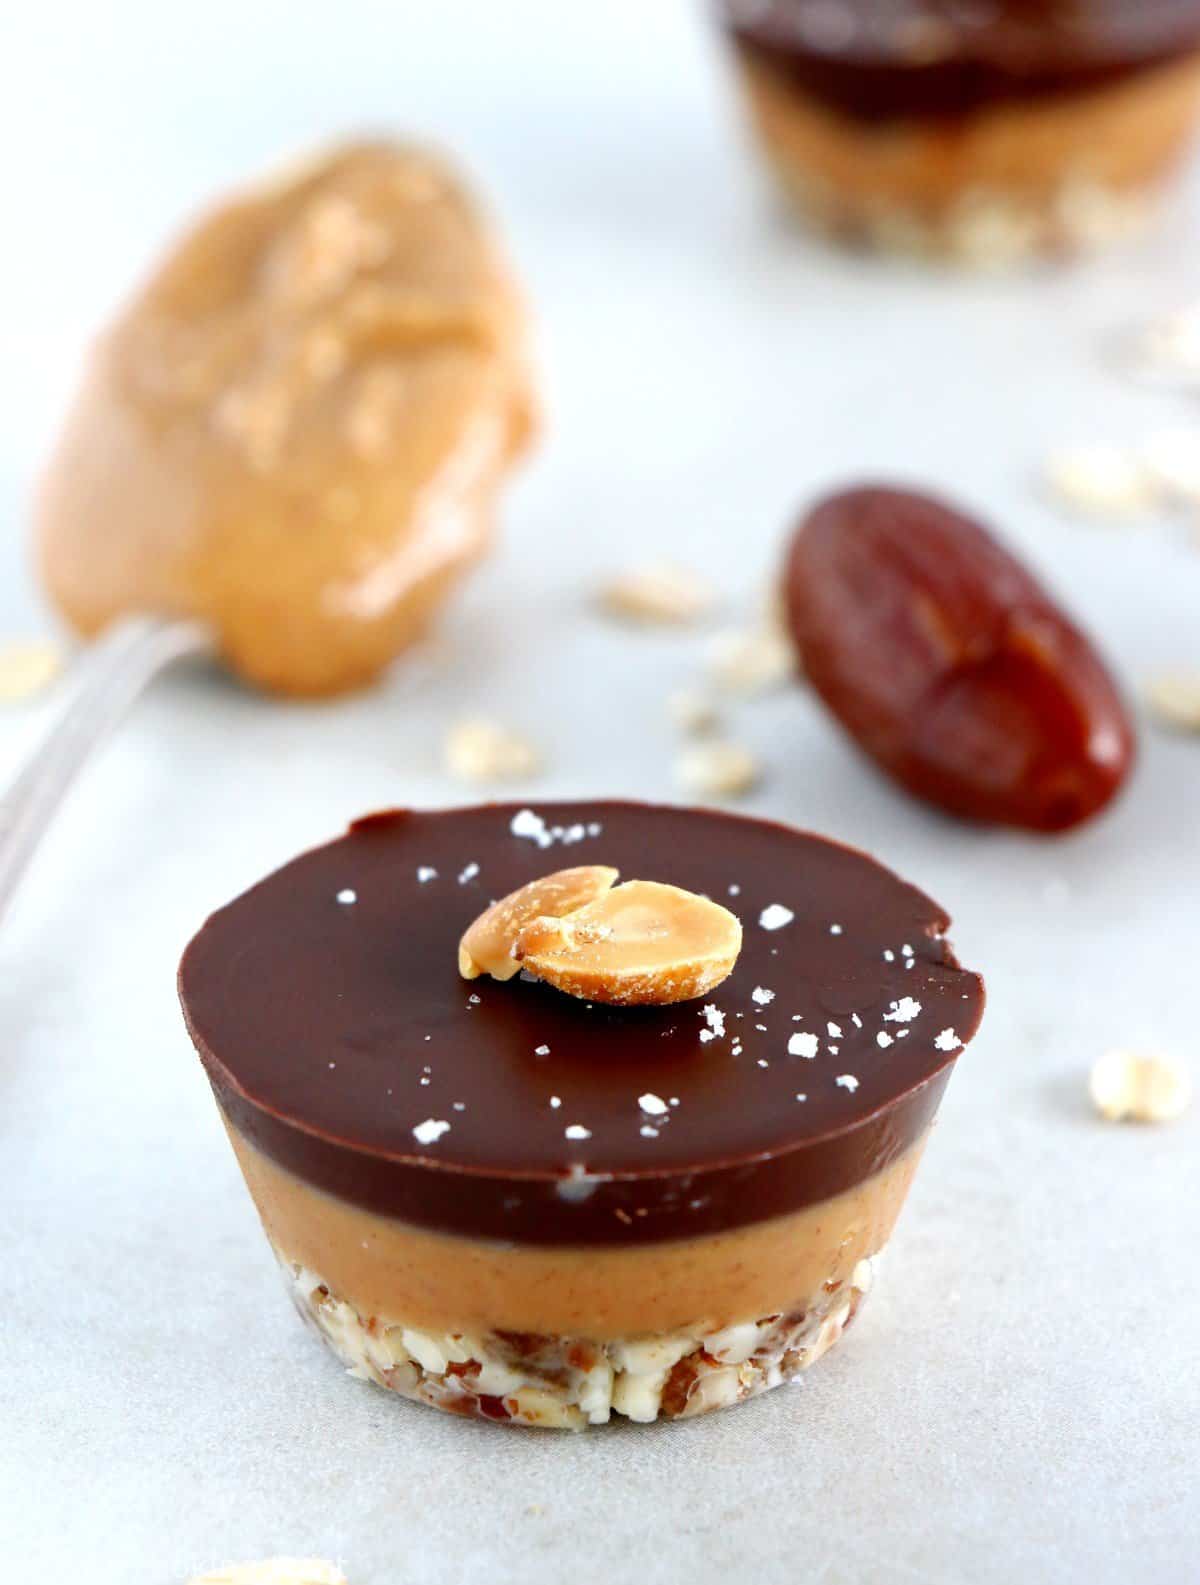
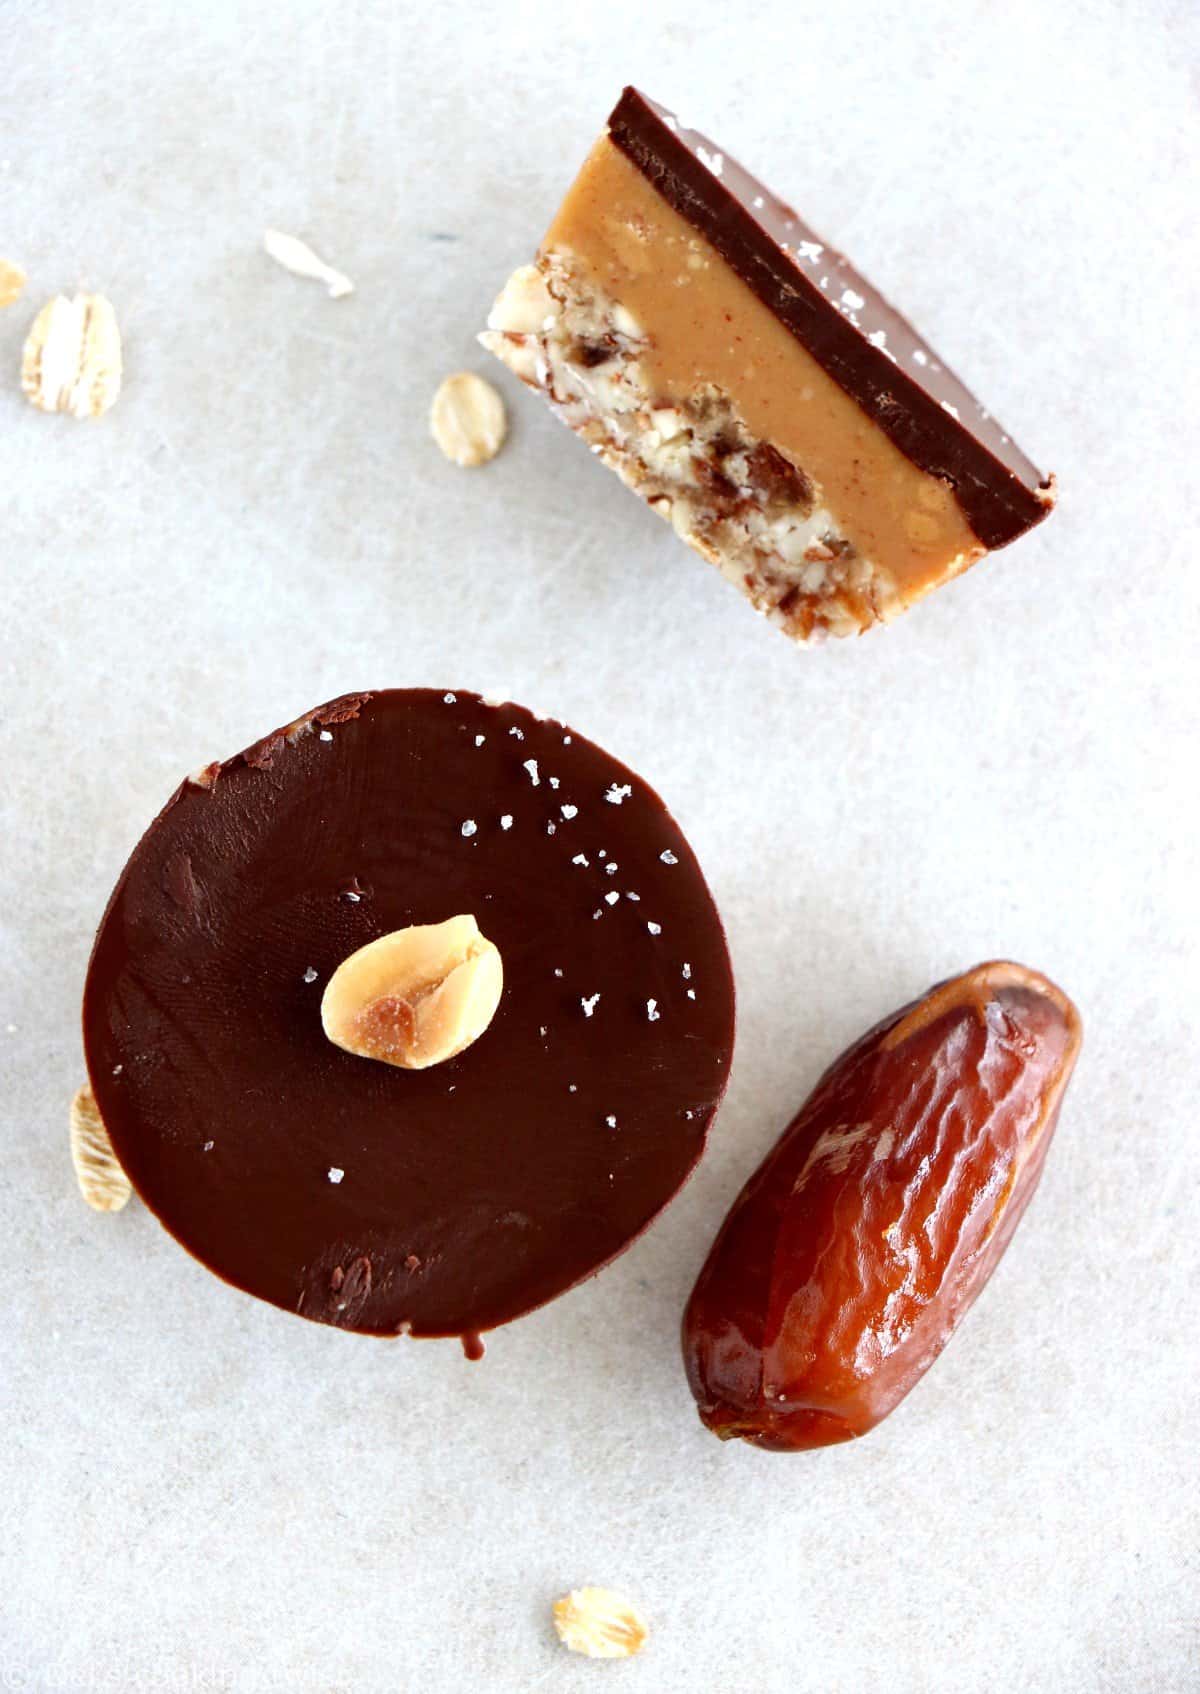
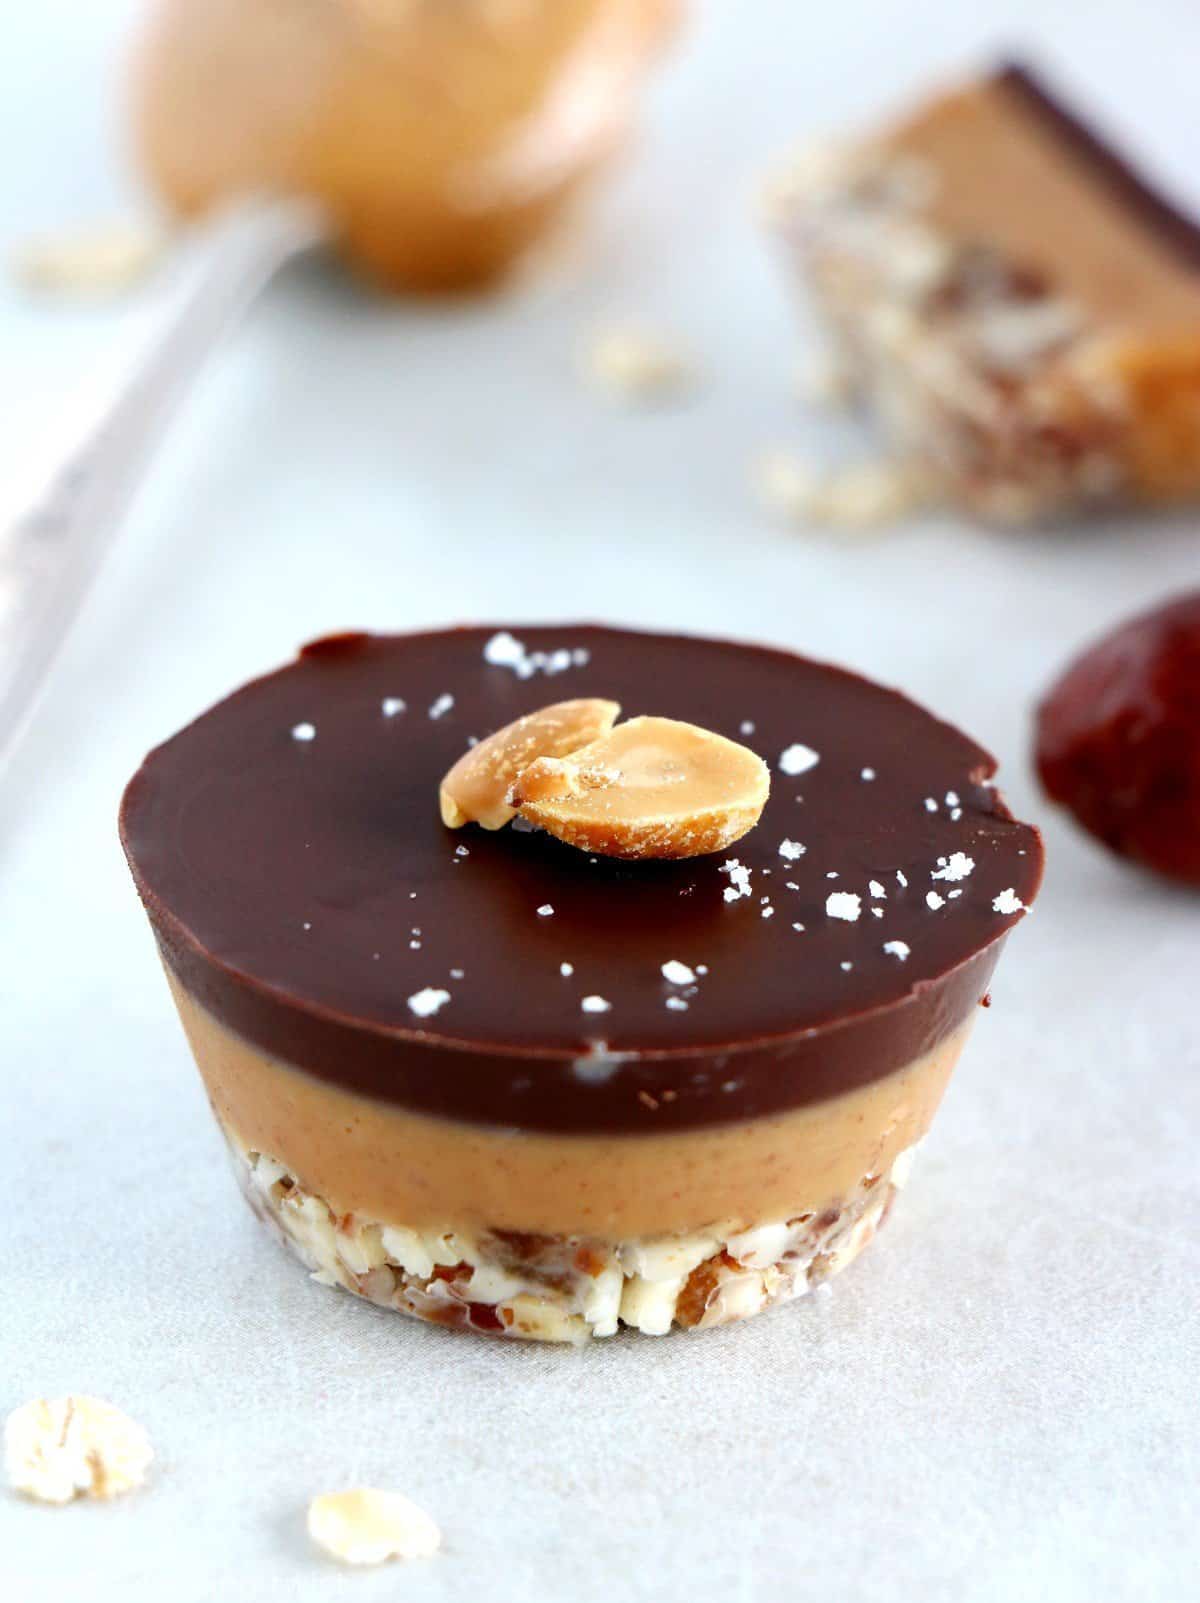
Indulge to these no-bake oat peanut butter cups, made healthy for you, with almost no sugar or fat. The perfect healthy guilty pleasure!
Let me tell you a story… a story of a girl who didn’t really like to bake… until she found a peanut butter cup recipe and couldn’t resist to make them as they looked so good. This story is about Fanny, a super fun student who spent the entire summer with me in Chicago, helping with the blog mainly. David and I went abroad for a week or so, and when we came back, she had prepared some adorable peanut butter cups – the true American guilty pleasure. They were tiny and absolutely irresistible.
Thing is, she had some peanut butter leftovers and also some chocolate leftovers. Too bad, we had to make more of them! And as I like to bring my personal little twist to almost every recipe I make, I came up with an idea. Combining two recipes, and making it a third one. Obviously.
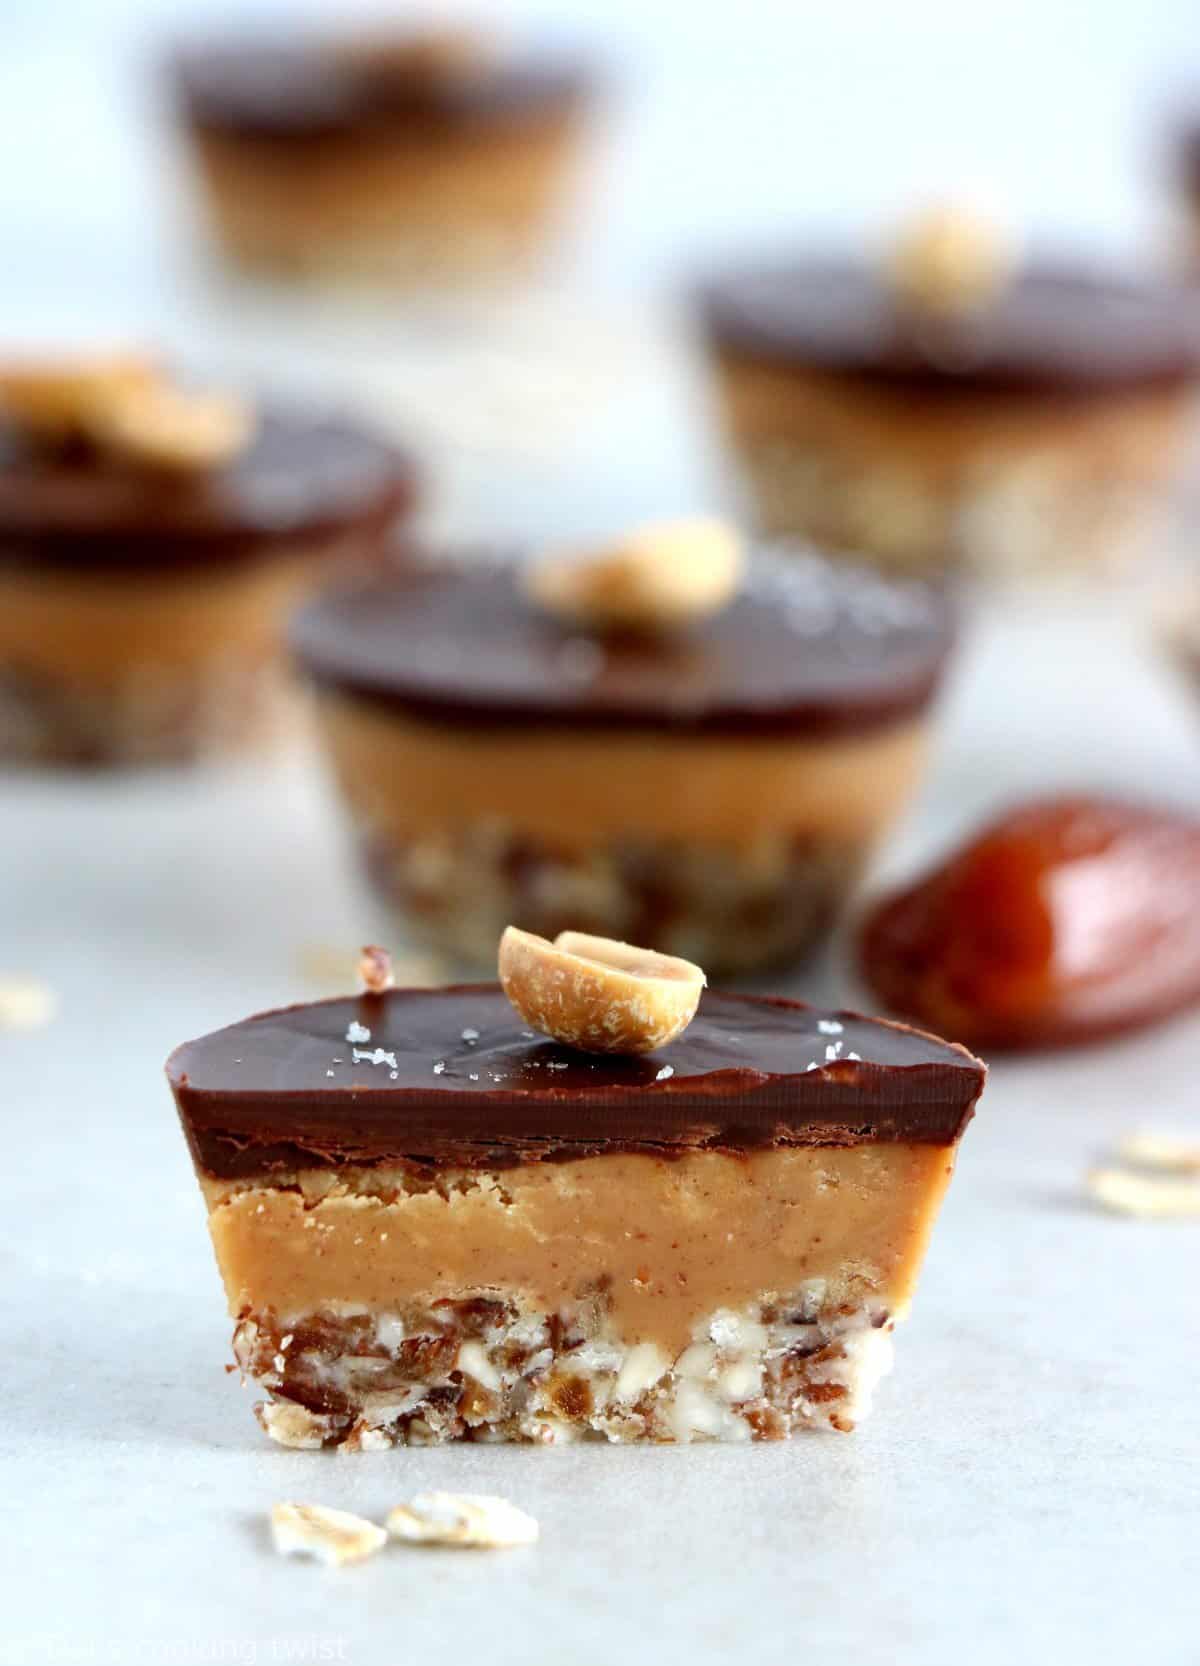
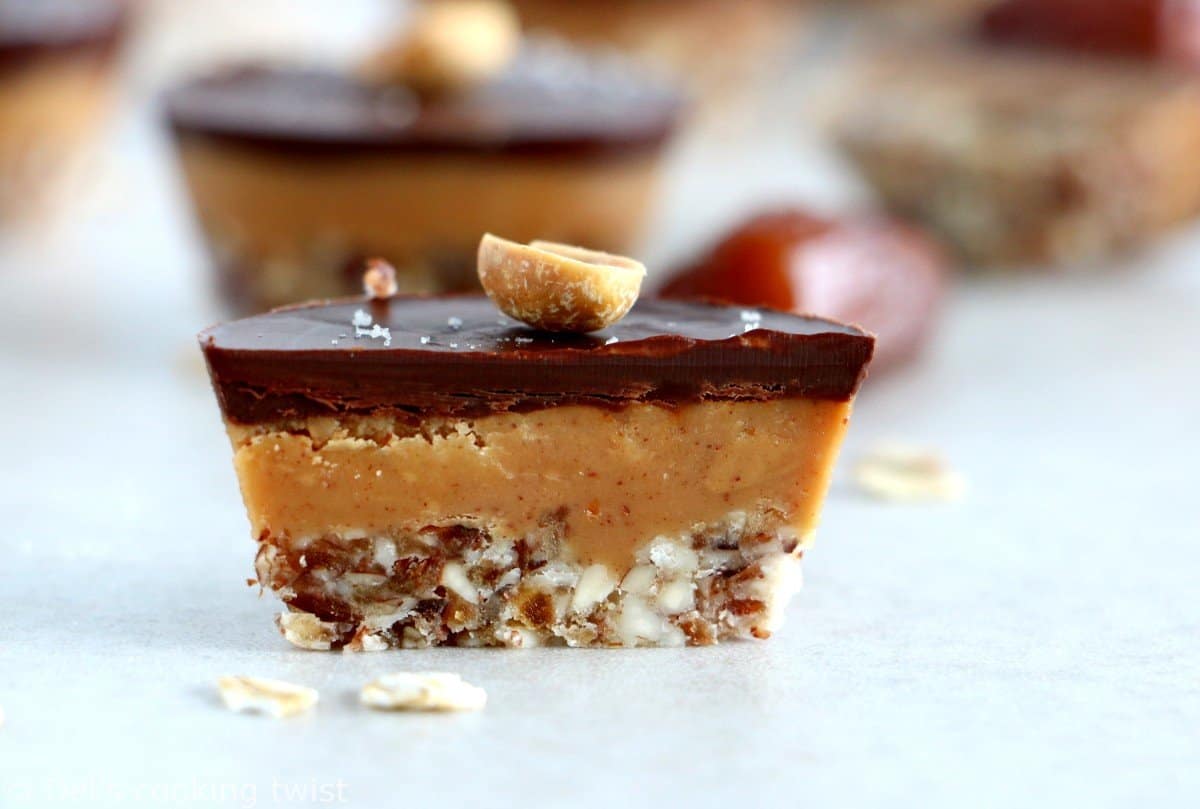
I started with adding a nutty base to my new version of the peanut butter cups, taking inspiration from my mini key lime pie recipe. The base is made healthy here, using oats that bring you energy on the long run, almond flour and dates to add a sweet touch to the whole. If you don’t have almond meal, you can use whole almonds instead, and pulse a little bit longer until they are crushed into very tiny pieces. The final texture will be slightly different but it still works very well.
Once the oat-date-almond paste is ready, it should be moist enough to handle. If not, you can add just a little bit of water, one tablespoon by tablespoon, stirring well in between each increment to make sure it’s well combined. Divide into the cavities of a mini muffin pan or paper liners placed into the muffin pan, and press with your fingers to make sure the dough is compact and evenly spread to the bottom and the sides.
Now that I had this base ready, I simply added a layer of the peanut butter filling and topped with chocolate. I prepared the whole thing extremely quickly, brought it to a picnic as a tiny sweet treat to enjoy for dessert, and got so many compliments about it that I decided to try the recipe again and make it even more healthier. In the first version, the recipe wet heavy on the confectioners’ sugar and coconut oil, which I didn’t find necessary. Too much sugar or fat tend to lull the senses.
Other healthy peanut butter snacks you should also try:
- Mini Healthy Peanut Butter Pies
- Creamy banana and Peanut Butter Smoothie
- Healthy No-Bake Energy Bites
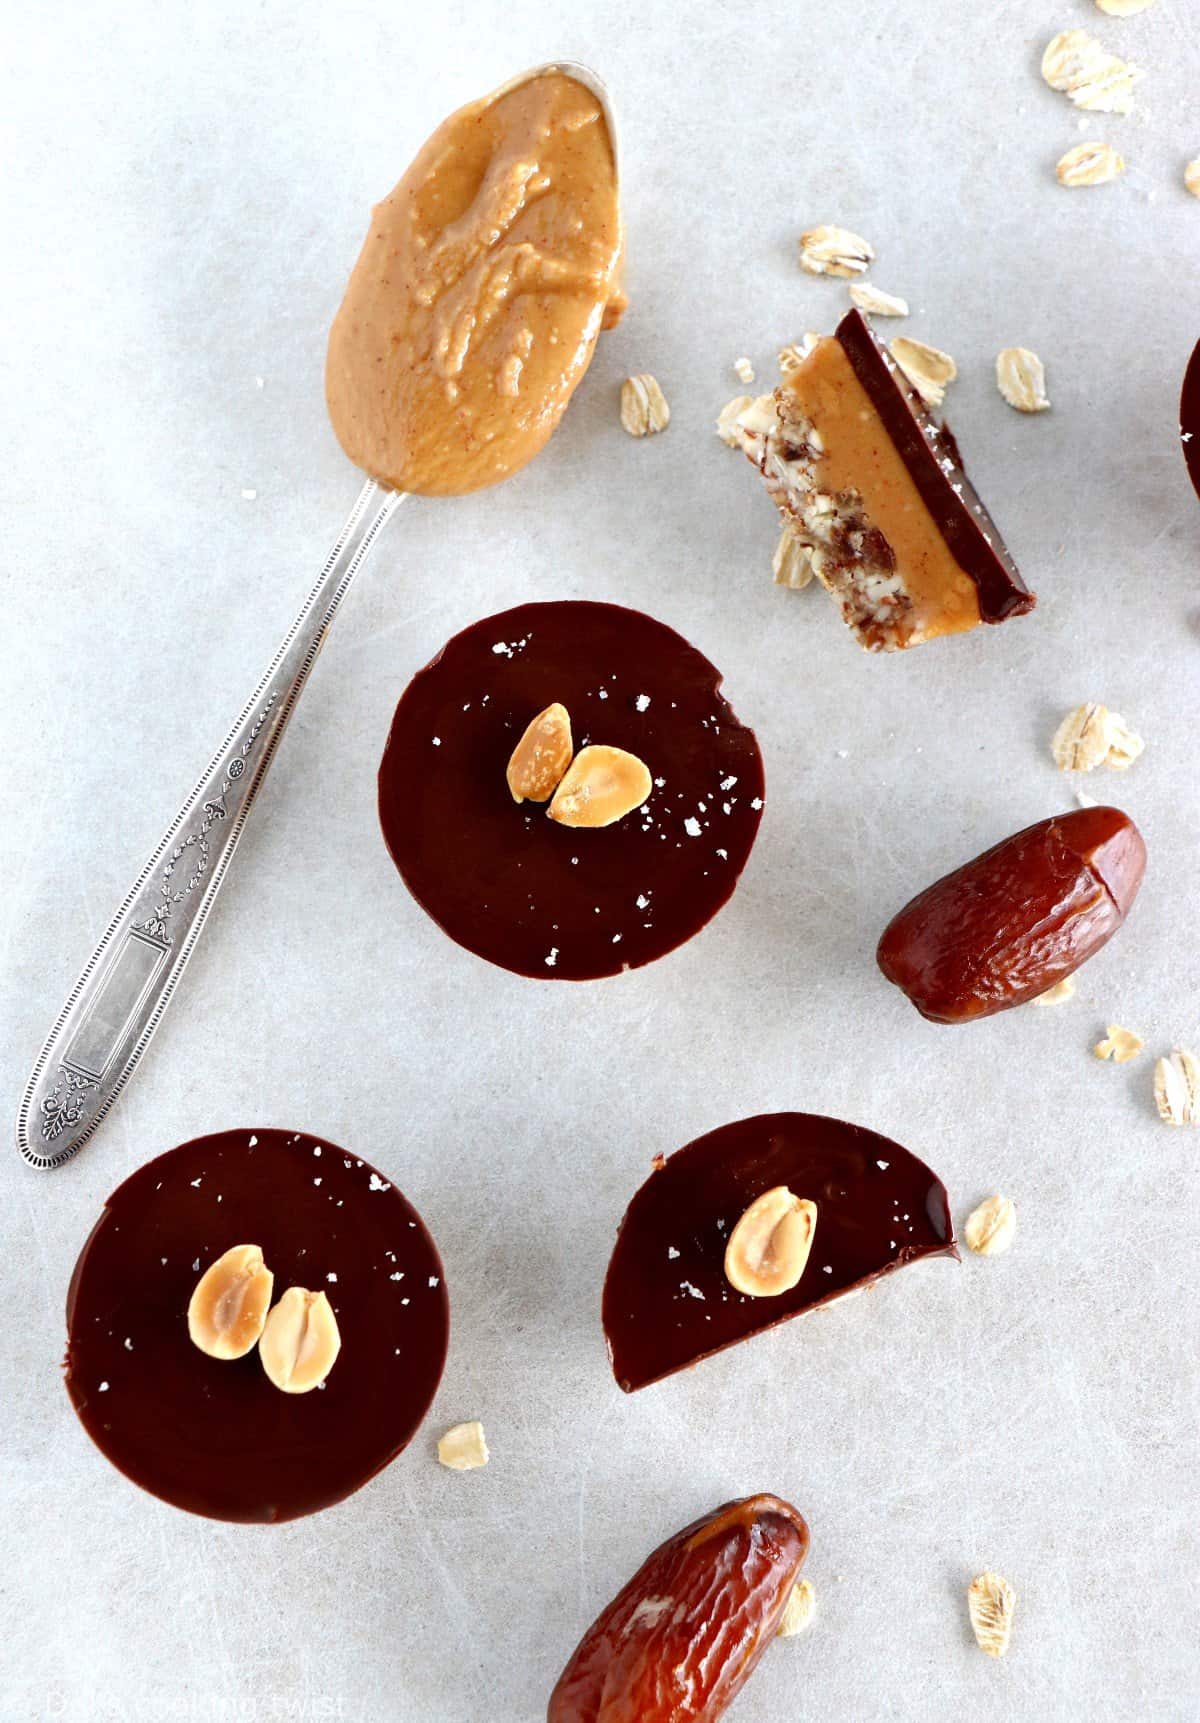
Nothing fancy here, I simply replaced the refined sugar with maple syrup. You could of course also use agave syrup if you wish, although I like the strong notes of the maple syrup. For the final touch, I add a dash of sea salt in order to balance the flavors. Last but nor least: note that I use smooth peanut butter in this recipe as I find it easier to spread it out in the cup. That being said, I tried with crunchy peanut butter too and I fell for its texture too. So just go for the one you personally like or simply have at hand by the time you are planning to make the recipe.
In a few words, this recipe is:
- Vegan
- Gluten-free (if using gluten-free oats)
- High in fiber
- High in protein
- Healthy
- Quick and easy
The very last part is the chocolate icing. I use here dark chocolate at 70% cocoa because it’s simply my favorite, which is good news as it is also healthier than other options. I tried with melted chocolate only and with melted chocolate and coconut oil. It turns out that the last version was still too greasy for me, which I absolutely dislike. So just melted chocolate in the end! Because you can store them up to one week in the refrigerator, these little guilty pleasures are the perfect healthy snack to have at hand anytime you have a sweet craving or fancy a tiny dessert.
PrintHealthy Oat-Peanut Butter Cups (Vegan)
- Prep Time: 15 mins
- Total Time: 15 mins
- Yield: 12 servings 1x
- Category: Cookies and Bars
Indulge to these no-bake oat peanut butter cups, made healthy for you, with almost no sugar or fat. The perfect healthy guilty pleasure!
Ingredients
For the base:
- 1/2 cup (75g) pitted dates
- 1/4 cup (40g) almond meal/flour or whole almonds
- 1/4 cup (40g) oats
For the peanut butter filling:
- 1/2 cup (135g) creamy peanut butter
- 1 Tablespoon coconut oil, melted
- 2 Tablespoons maple syrup
- 1 pinch sea salt
For the chocolate:
- 1/3 cup (60g) dark chocolate
Instructions
- In a food processor, pulse pitted dates, almond flour and oats together until soft and wet texture. If using whole almonds, make sure they are chopped into tiny pieces. Spoon out the dough and divide into the cavities of a mini muffin pan.
- For the peanut butter filling, mix together the creamy peanut butter, coconut oil, maple syrup and salt, using a hand mixer until smooth. Divide over the oats base.
- Melt dark chocolate in the microwave, then pour over the peanut butter filling. Place in the refrigerator until completely set, about 30 minutes. Use a sharp knife to lift the cups from the mini muffin pan. Store in a airtight container and keep refrigerated for up to one week.
Did you make this recipe?
Lastly, if you make this Healthy Oat-Peanut Butter Cups (Vegan), be sure to leave a comment and give this recipe a rating, letting me know how you liked it. And of course, don’t forget to tag me on Instagram! Thank you and enjoy!
Shop the recipe
Here are some items I used for the recipe:
Mini Muffin Pan | Mini Muffin Liners | Kitchen Aid Hand Mixer | Stainless Measuring Cups | Organic Peanut Butter | Natural Almond Flour
Some of the links above are affiliate links, which pay me a small commission for my referral at no extra cost to you! Thank you for supporting Del’s cooking twist.

MJ
Bonjour Del, j’ai testé cette recette et elle est absolument merveilleuse, c’est une tuerie! Merci beaucoup!!! J’ai réalisé les cup-cakes dans des ramequins individuels pas en silicone et malheureusement c’était indémoulable. Mais franchement pas grave, c’est tellement bon.
Par contre je me permettrai un petit conseil pour les internautes suivants: mettre au frigo et attendre que ça prenne avant de mettre le chocolat sur le dessus. Mon chocolat est “tombé” dans la préparation au beurre de cacahuètes et les deux pâtes se sont un peu mélangées. Alors niveau goût ça ne change rien, mais pour l’esthétique ça vaut le coup d’attendre un peu plus longtemps 😉
Ann @Kitchen Folks
Hey Delphine, such a great recipe you had shared.thanks for sharing this. Sometimes I thought that why i couldn’t be so creative like you while cooking. I didn’t make this before. The butter cups is looking perfect. I can’t wait to eat that.your tips will help me to make that correctly. Keep posting this type of recipes.. 🙂
Delphine Fortin
Oh, thank you so much for your kind words, Ann! I will definitely keep your advice in mind and will try to create even more healthy desserts/snacks in 2019. 🙂
Isa
bonjour, ces délicieux mini cup, je les ai fait ce week end, on a tous adoré ! merci encore
j’ai juste rencontré un moment de solitude avec la base qui était trop sèche, je n’avais pas lu que l’on pouvait ajouter de l’eau, j’ai ajouté de la purée d’amande, donc un peu moins light mais je referai tellement c’était bon
Delphine Fortin
Oh super, merci Isa, je suis ravie que tu aies aimé! 🙂
Annesofi
Euuuuuh !!!! Mais whaaaaat ???? Quelle tuerie cela doit être !!!
Direct, je garde cette recette sous le coude
Merci bcp
Madeleine à bicyclette
Ça a l’air absolument délicieux!
Ta recette finit directement sur mon pinterest (à défaut de mon estomac 😉 )