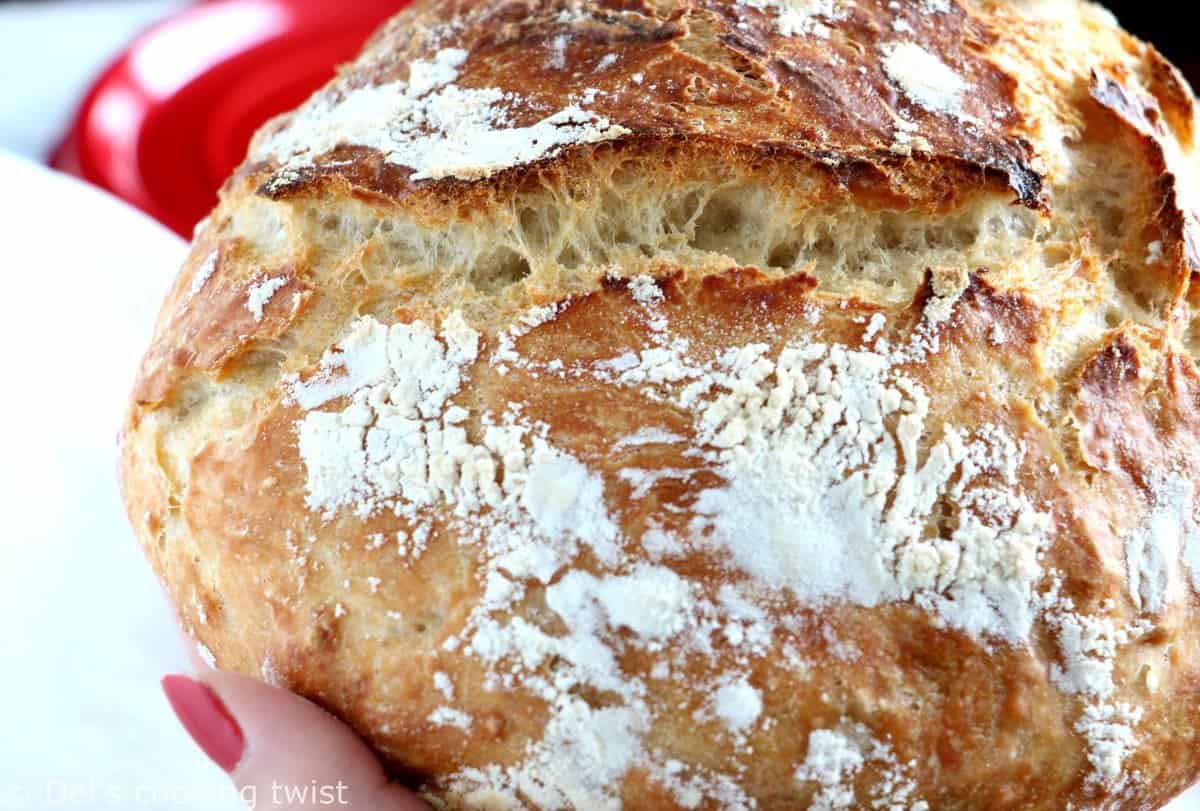
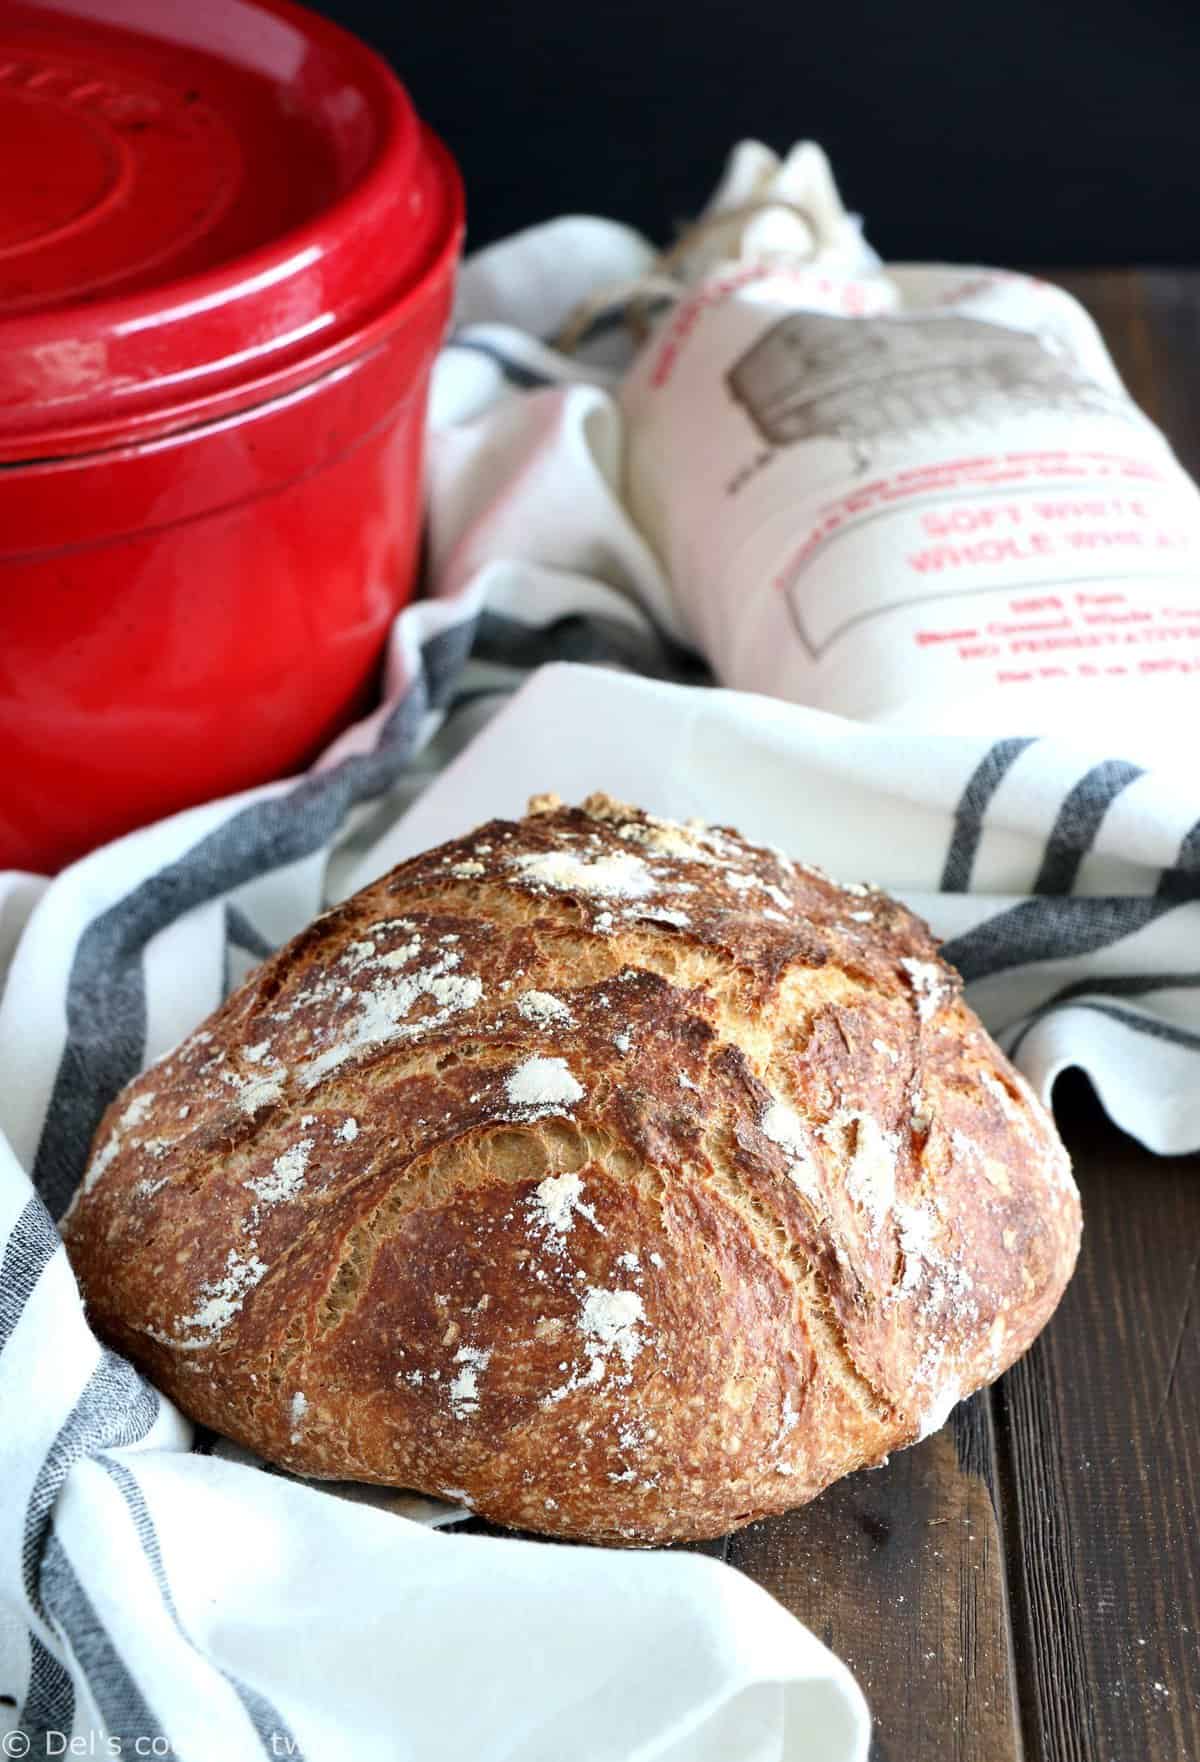
Learn how to bake bread at home – the easy way! Featuring a crispy crust and a soft, chewy texture, this no-knead bread is ridiculously easy to bake and tastes amazing.
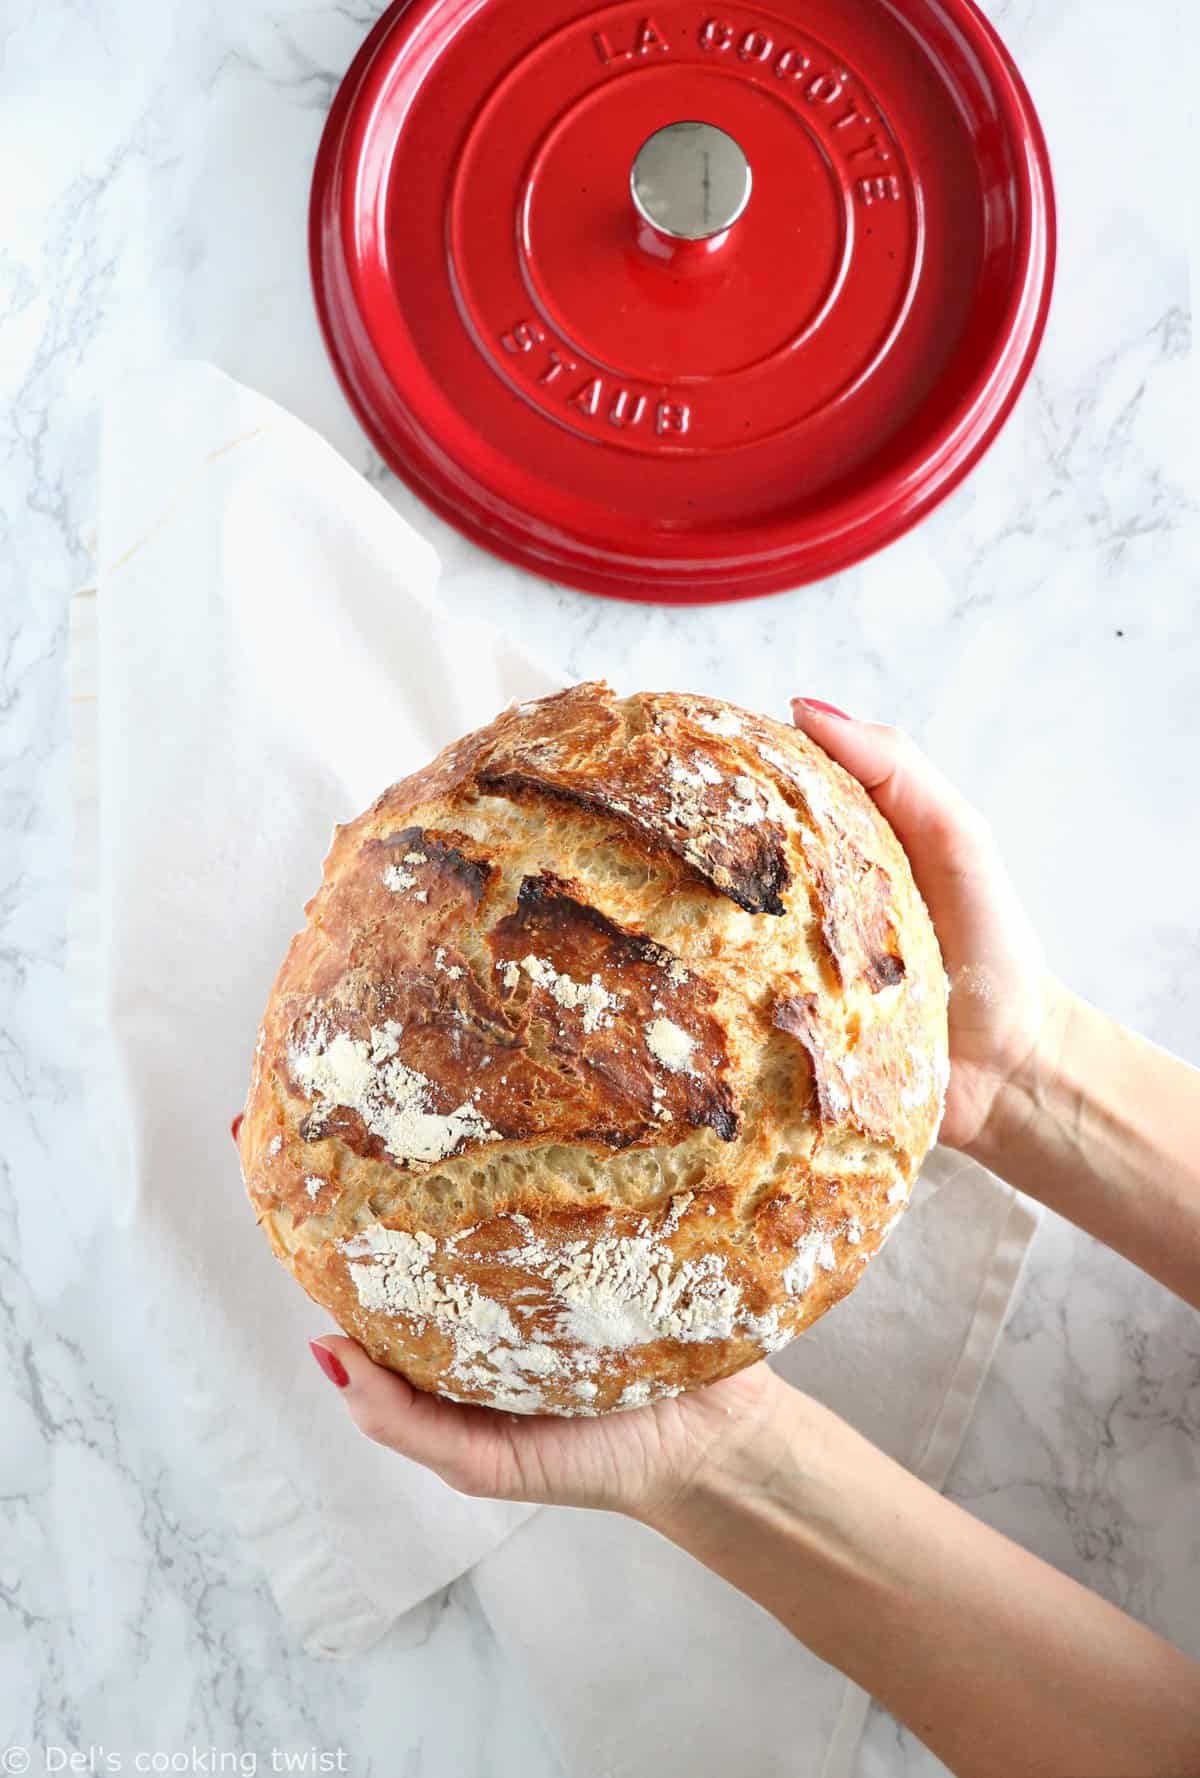
I’m so excited about today as I’m starting a bread week! I’ve been working on this idea for the last two months now and I’ll be sharing a new no-knead bread recipe, also known as “miracle bread”, each day of the week. It’s a foolproof recipe and I initially thought I would share all versions in this post but at the last minute I changed my mind and will instead start a mini series lasting the entire week.
Ok, so let’s start with the basics: what is exactly a so-called “no-knead bread” recipe and what’s the big deal? To begin with, I must disclose I am not the original creator of this recipe that already exists a little bit everywhere, as you might have noticed already. I’m just passing over the recipe here as it is clearly too good to be true or to be kept a secret. So if you haven’t heard about it before, it’s high time you discover this fantastic bread… through me, through anyone else, it doesn’t matter, you just need to know the recipe.
I discovered it myself through my good friend Caro here in Chicago. Each time she would come to our place or we would go to hers, she would impress us with this homemade bread. She kept saying over and over again that she didn’t really do anything, the recipe was just easy and there was nothing to do. I never believed her on this point, I mean come on, we are talking about bread here, it’s not that easy right? Or maybe it is but it takes time, you need to knead the dough and so on, right?
Well, it turned out she was right. After quite a while, I decided I really needed to give the recipe a try. The result at first attempt: SO EASY, you wouldn’t believe it! My husband became the master and loves to bake it time and time again. So now we found a way to impress our friends with the recipe and we couldn’t thank Caro enough for this brilliant idea she first read about on the world-famous and talented Pinch Of Yum, which you’ve probably heard about already.
So really, there is NOTHING TO DO in this recipe ; it’s just a miracle. All you need to do is randomly mix all the ingredients together – flour, instant yeast, salt, and room temperature water – and let sit for about 12 hours or overnight. No, you don’t need to knead the dough at all, not even a little! Also, note that salt is important in a bread recipe, and even if you can feel a little bit scared by the quantity used, you wouldn’t want to use less otherwise your bread would simply be tasteless, believe me.
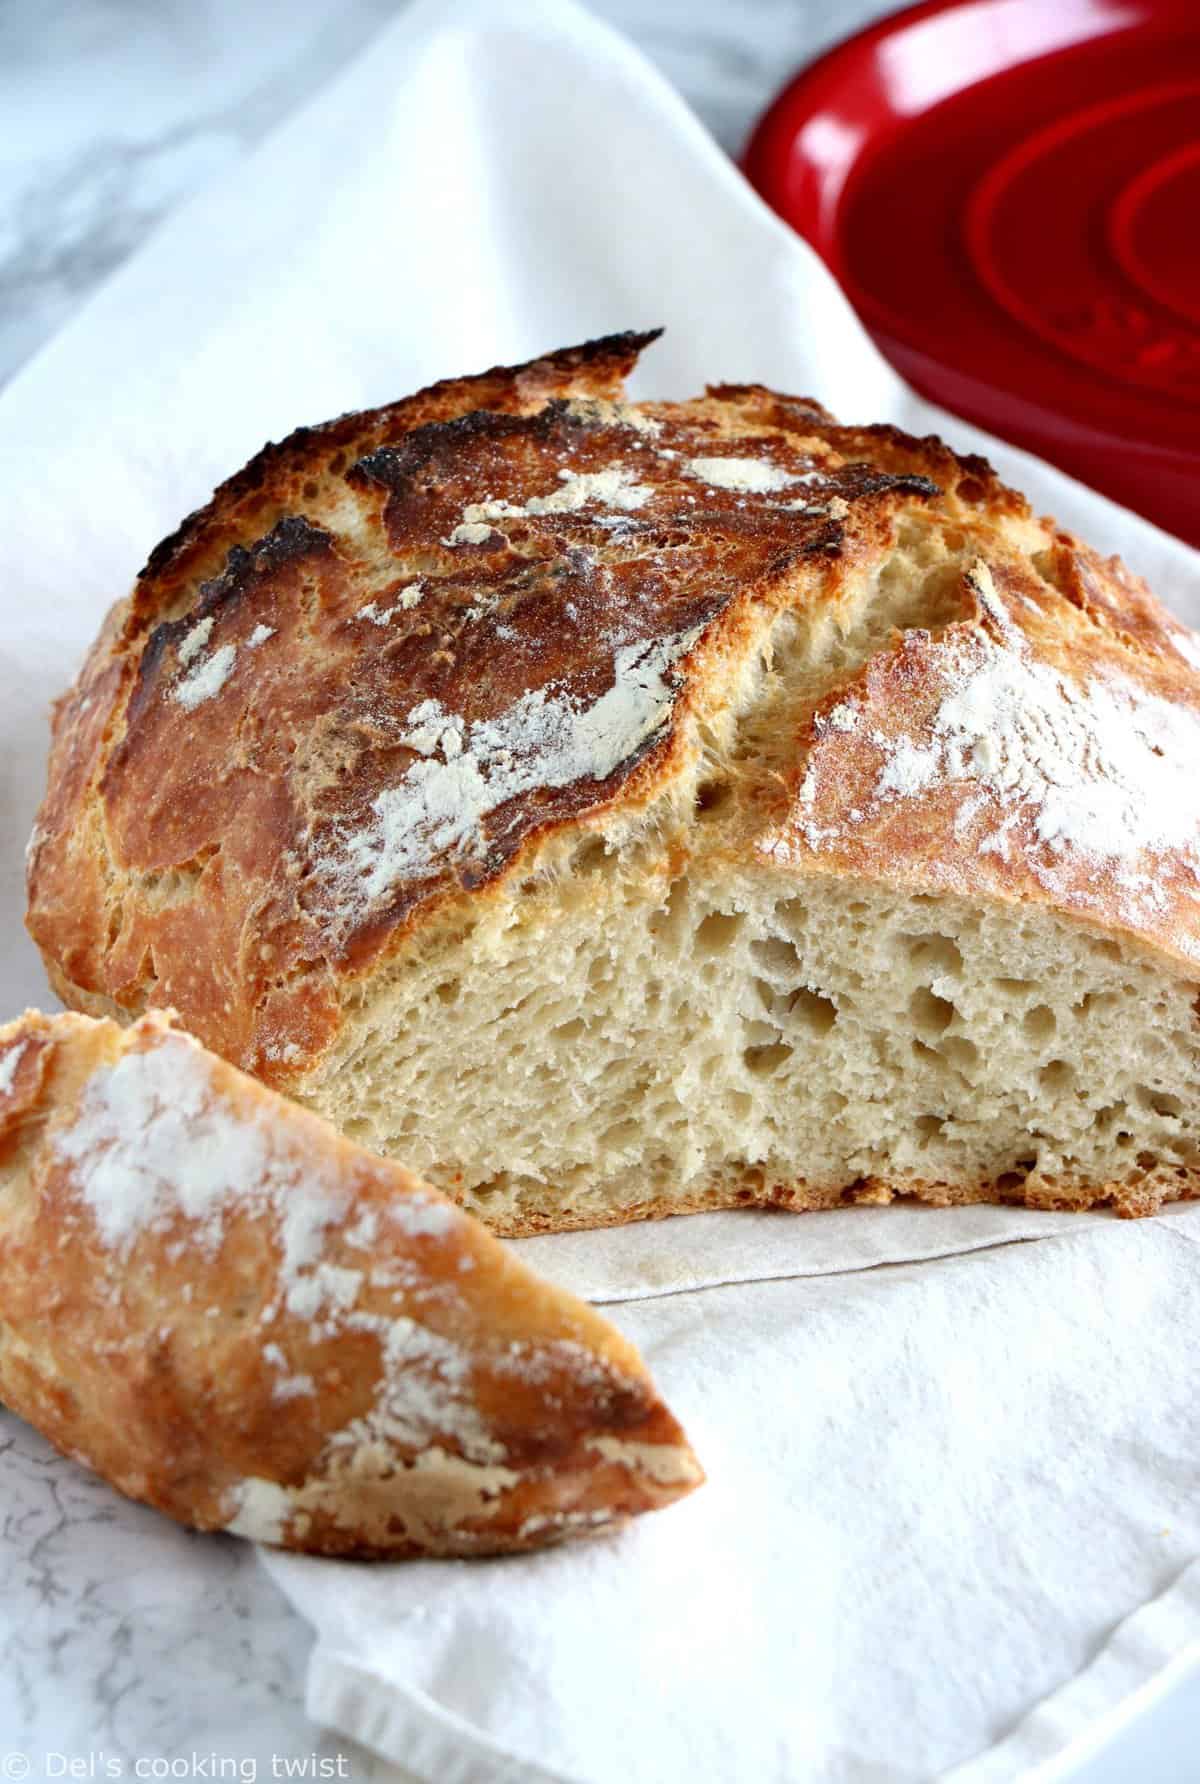
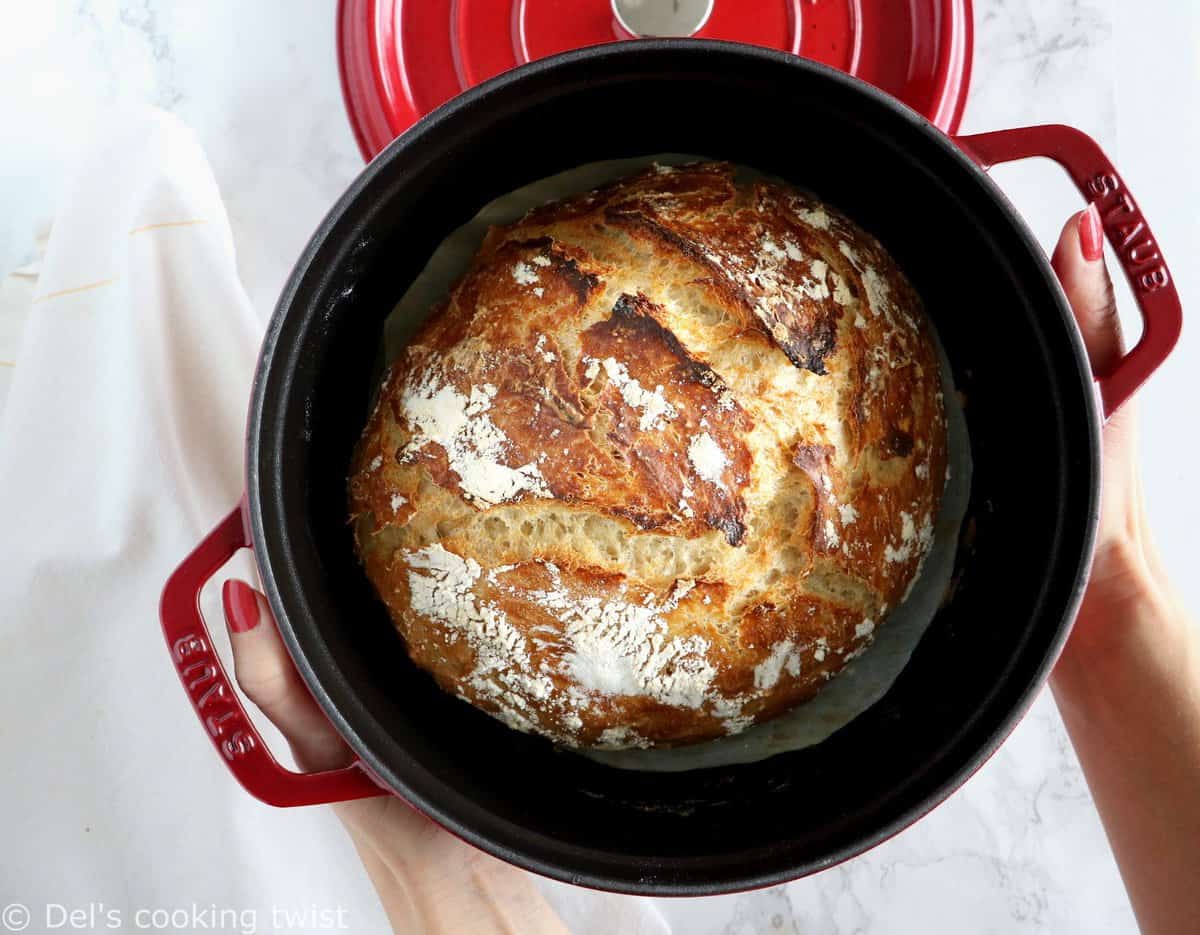
So what is a no-knead bread exactly? It is simply a method of bread baking that uses a very long fermentation (rising) time instead of kneading to form the gluten strands that give the bread its texture. It is characterized by a low yeast content and a very wet dough. The dough is allowed to rise, covered, for 12 to 18 hours until doubled in size and its surface covered with bubbles. It is then dropped in a Dutch oven that has been preheated in an oven at 450 F (230 C) and the bread is baked in the Dutch oven with the lid on for 30 minutes and, with the lid removed, for another 10-15 minutes until the crust is golden brown.
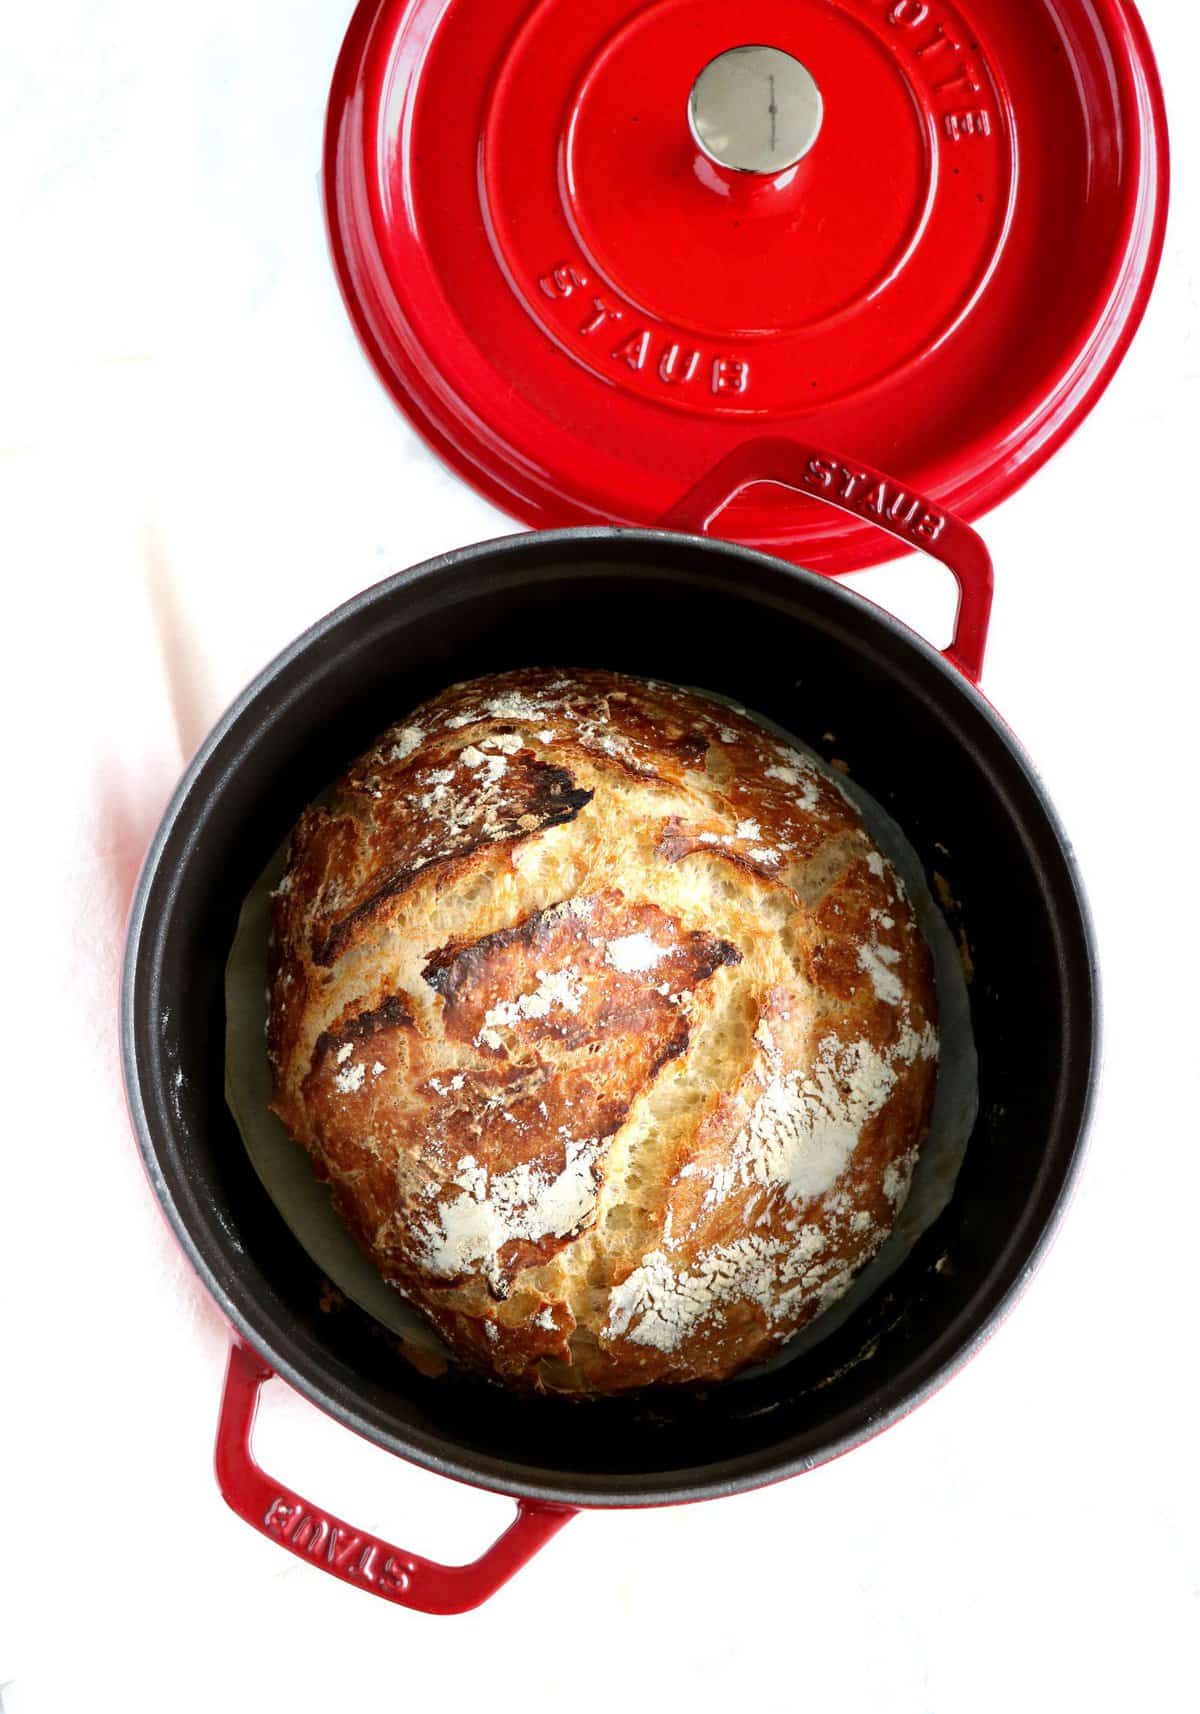
To make the magic happen and get the perfect crispy texture, you need a heavy covered pot (cast iron, enamel or ceramic such as a Dutch oven). And if you don’t have one yet, I highly recommend you invest in one as it will last a lifetime and you will end up using it a lot – not to mention that it will spare you some money on the long run as you will not need to purchase expensive bread at the bakery. Seriously, this is probably the best cookware I invested in so far. I personally use a 4 qt round Dutch oven and find the size just perfect, but you could use a 6 qt and even a 8 qt, round or oval.
And there you go: a perfect bread with no effort! So easy that I created a series with variations on the traditional no-knead bread recipe. Everyday this week, I will share a new no-knead bread version and you will get in total 5 no-knead bread recipes to choose from by Friday. Stay tuned!
Easy Classic No-Knead Bread
- Prep Time: 2 mins
- Cook Time: 45 mins
- Total Time: 47 mins
- Yield: 1 bread 1x
- Category: Breads & Brioches
- Cuisine: French recipes
Learn how to bake bread at home – the easy way! Featuring a crispy crust and a soft, chewy texture, this no-knead bread is ridiculously easy to bake and tastes amazing.
Ingredients
- 3 cups (360g) all purpose flour
- 1 1/2 teaspoon salt
- 1/2 teaspoon instant yeast
- 1 1/2 cups (360 ml) room temperature water
Instructions
- In a large mixing bowl, whisk the flour, salt, and yeast together until mixed. Stir in the water until a chunky, thick dough forms. If needed, add a few more teaspoons of water, just enough to get the dough barely wet throughout. The dough must form a sort of unfinished ball, wet and sticky but in no way liquid. If so, add just a little bit more of flour, but not too much. Cover the mixing bowl with a cloth or plastic wrap and let it rest overnight (about 12 hours) at room temperature.
- In the morning, preheat the oven to 450°F (230°C) and place a 4 to 6-quart heavy covered pot (cast iron, enamel or ceramic) inside, until you reach the desired temperature, or ideally for 30 minutes.*
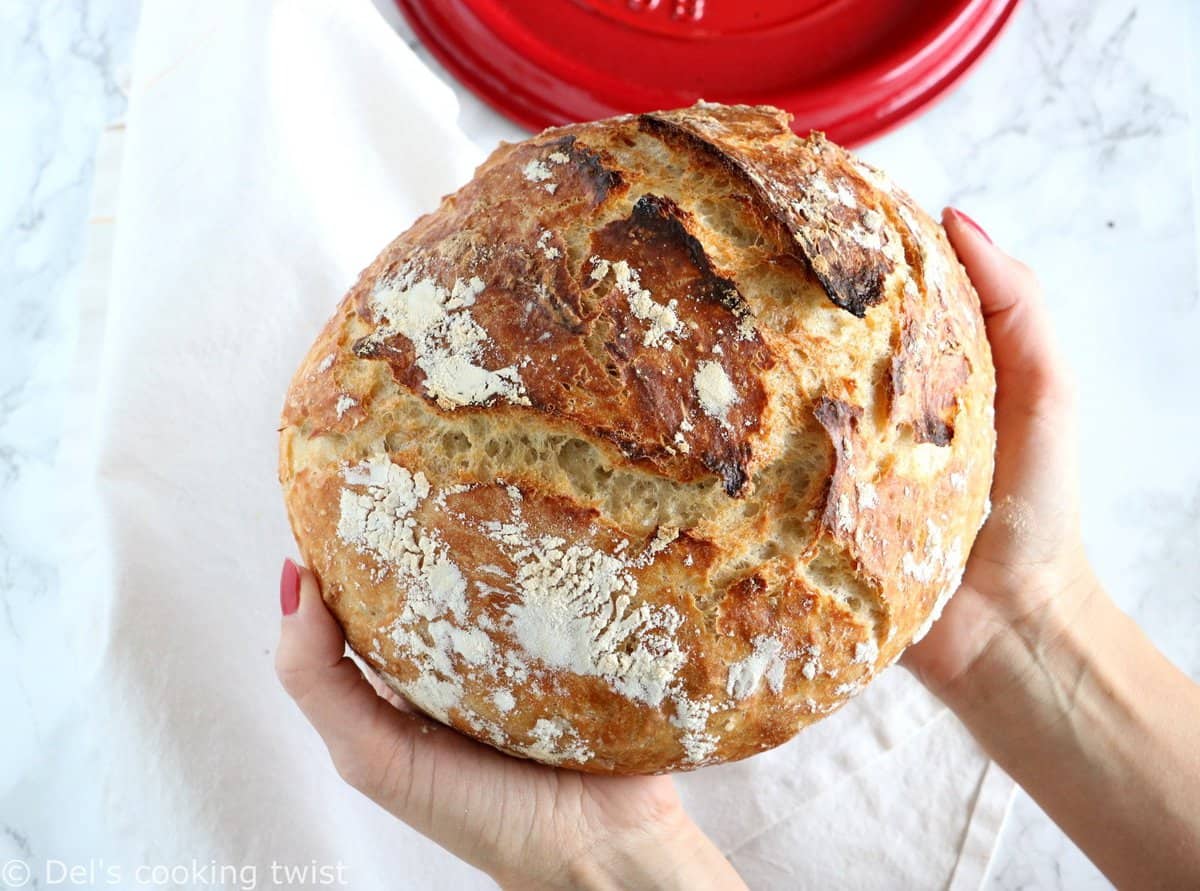
- Once the oven is hot, remove the covered pot, and carefully line with parchment paper (be careful, it’s hot!). Gently scrape the dough from the bowl, shape onto a ball with your hands and place in the pot (the dough will look a little bit sticky and messy but it’s normal, just let it be). Sprinkle some flour on top, and place in the oven with the lid on for 30 minutes. Remove the lid, and bake for another 10-15 minutes to get the outside crust golden brown and crispy. Transfer onto a cooling rack, and let cool. It’s done!
Notes
*If you really have no time, I sometimes skip this part and it works too. Just remember that it’s better if you follow this step but you don’t necessarily have to.
NOTE: this bread doesn’t last long as it dries out quickly. It is best eaten fresh, ideally same day of baking or at the latest the day after.
Did you make this recipe?
Lastly, if you make this Easy Classic No-Knead Bread, be sure to leave a comment and give this recipe a rating, letting me know how you liked it. And of course, don’t forget to tag me on Instagram! Thank you and enjoy!
Other no-knead bread recipes to try:
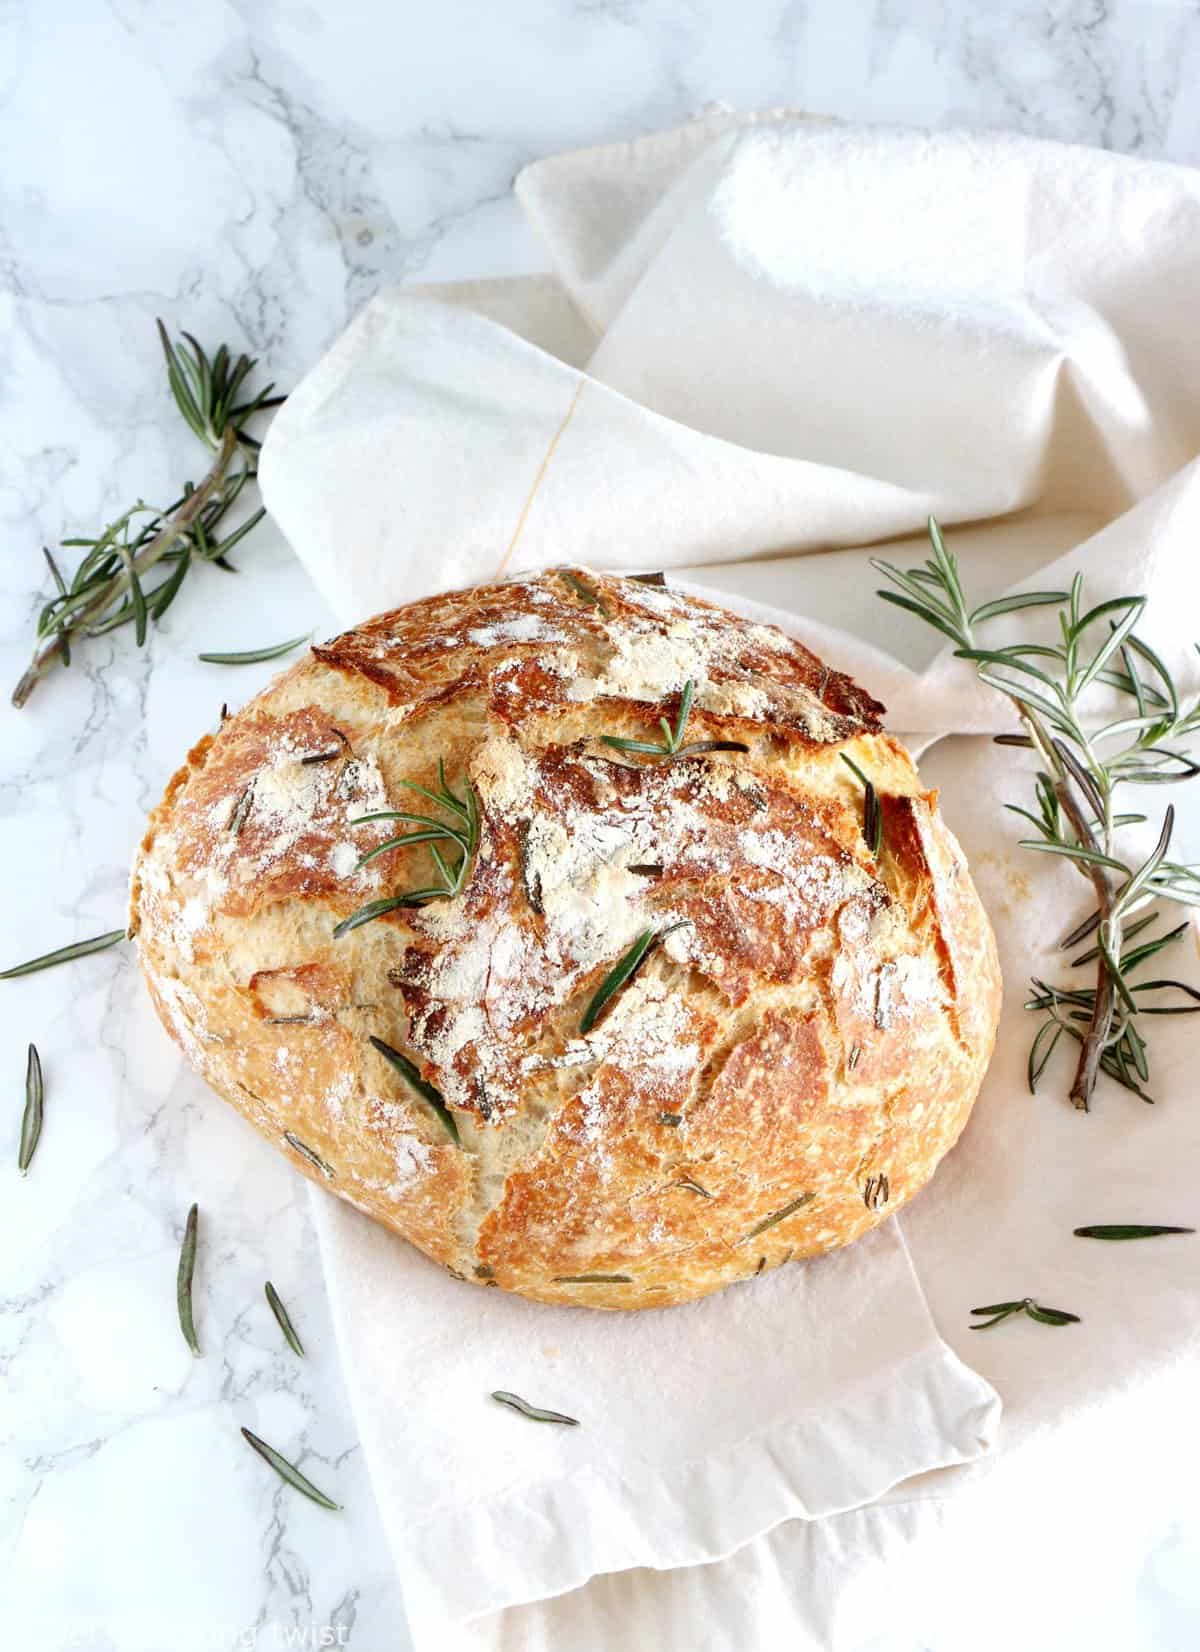
Rosemary & Green Olives No-Knead Bread.
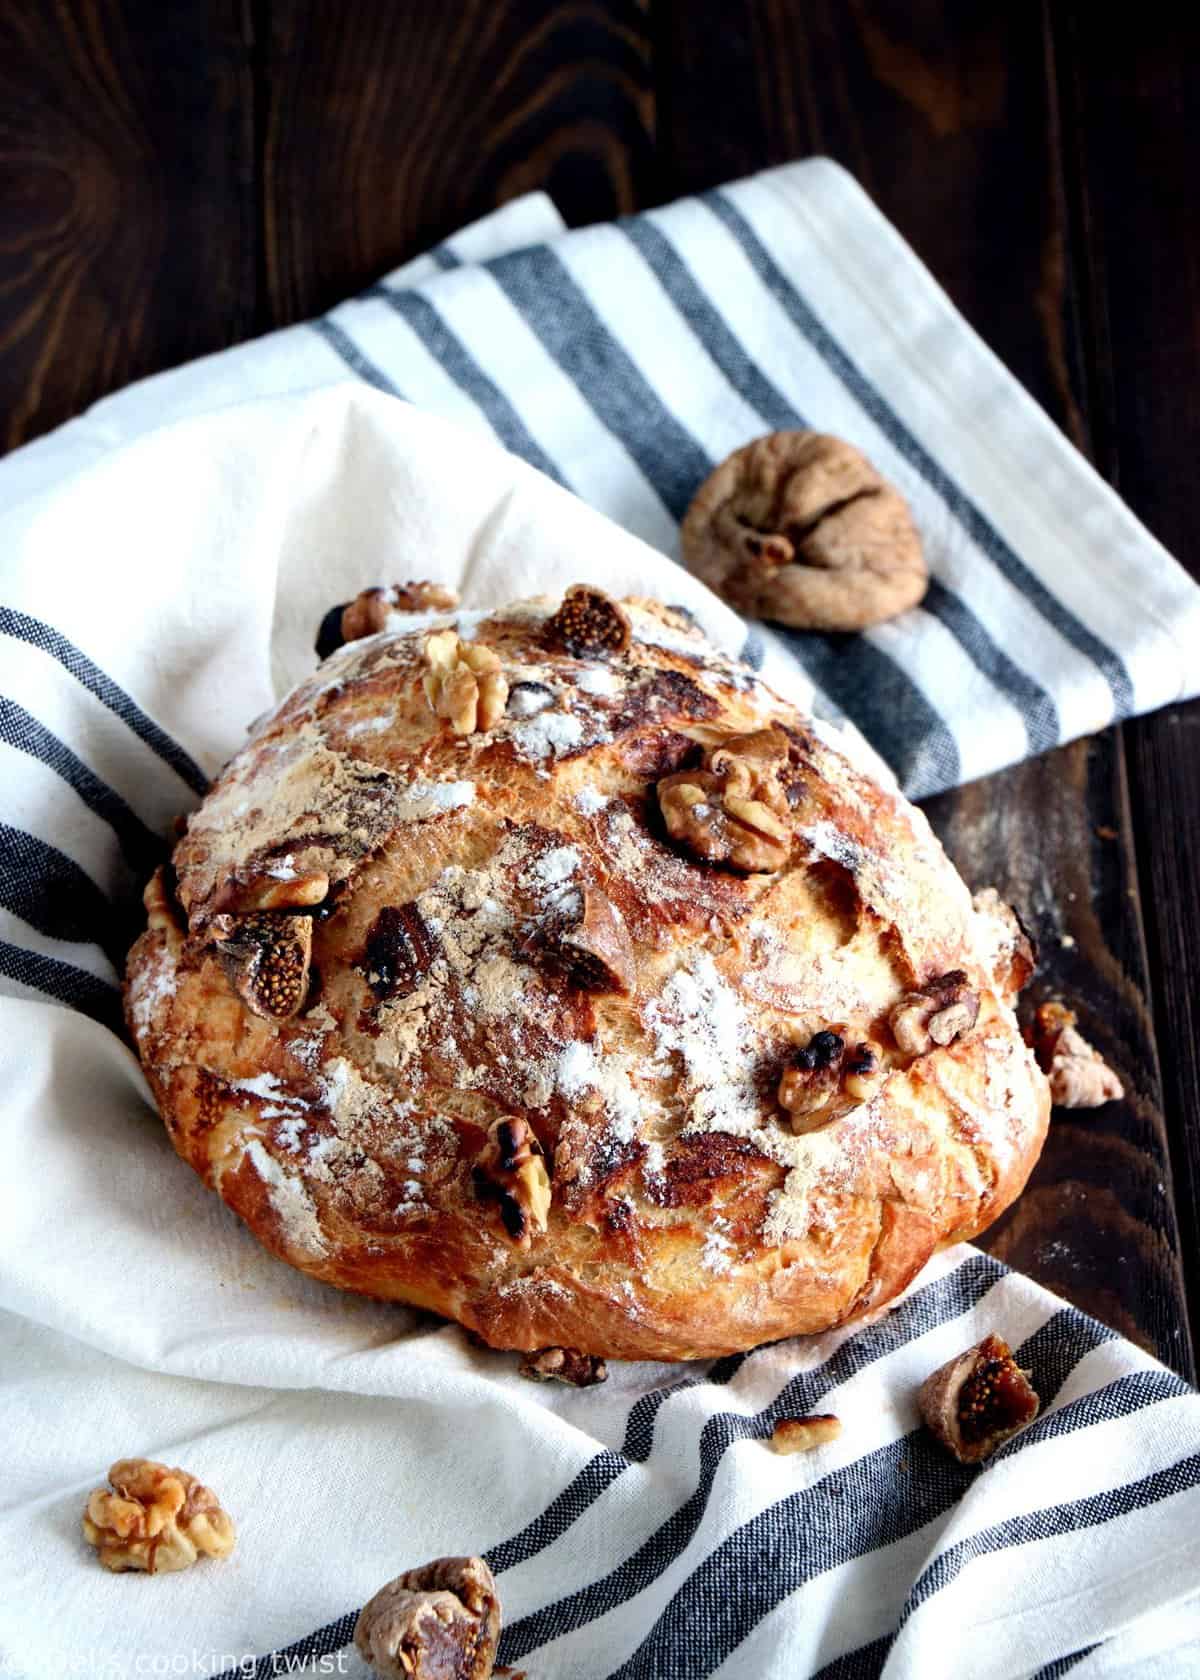
Rustic Fig & Walnut No-Knead Bread.

Christopher
Kneadless to say (excuse the pun!) – you can also use corn flour or rye flour in 50:50 combination with wheat flower.
Duam54
Bonsoir,
J’ai fait pour la première fois un pain cocotte avec ma tante, nous avons mis les doses exact, juste rajouter un peu de farine sur mes mains car ça collait trop aux doigts, on a trouvé le pain bon mais compact , pourquoi?
Faut il rajouter un peu plus de levure sèche? Car il avait levé, mais pas énormément non plus , pourtant une cocotte en fonte de 16.
Merci
Delphine Fortin
Bonjour ! Avant tout, il est important de préciser que le pain de manière générale peut avoir une texture différente d’une fois sur l’autre en fonction de la chaleur, de l’humidité, etc. Il m’arrive parfois de constater que mon pain cocotte est un peu plus dense que d’ordinaire alors que je suis exactement les mêmes proportions. Cela peut aussi venir de la farine (cf. ma petite vidéo où j’explique tout cela. Peut être l’as-tu regardée). Par ailleurs, il est normal d’avoir une pâte très collante pour cette version de pain qui a pour particularité d’avoir un temps de pousse lent et long à la place du pétrissage, et c’est pour cela que je préconise de mélanger avec une cuillère plutôt qu’à la main. Une fois que le pain a levé, il suffit de le transférer dans la cocotte en s’aidant d’une maryse pour décoller les bords, puis de saupoudrer très légèrement d’un peu de farine avant d’enfourner le tout. N’hésite pas à renouveler l’expérience, on apprend beaucoup avec ce pain 🙂 Del.