Learn how to master the technique of a puff pastry and prepare it from scratch with the help of this useful step-by-step guide. Your fruit pies and other pastries will reach a new level!
Puff pastry has always scared me. To me it seemed very technical, extremely long and terribly boring. A little while ago however, encouraged by a good friend of mine, I threw myself into the water and baked it from scratch. I was so proud that I crafted a step-by-step tutorial for the puff pastry in order to guide you when baking it.
This way, you can follow the instructions one by one, making sure you don’t go wrong at any time in the recipe. I will not lie to you here, it is indeed with no surprise a little technical and it requires both time and patience. If you don’t have either of them at the moment, don’t blame yourself, there is absolutely no shame in it. You can still be a very good baking aficionado without baking your own puff pastry.
There are a few important things to keep in mind when baking a puff pastry. To begin with, you will notice that the recipe calls for only 3 basic ingredients, mainly flour and butter (+ water). At this stage, you start by preparing a beurre manié, i.e. a dough consisting in equal parts of soft butter and flour. By kneading the flour and butter together, the flour particles are coated in butter, preventing the latter from being too sticky when combined with flour later on. From now on, and until the end of the recipe, one rule is king: always work with a cold dough. If it’s too warm (even lukewarm), place it in the refrigerator until cold again.
Then, I count 2 tricky parts when making a puff pastry: the folding and turning part of course, and the ability to keep butter inside without poking through it at anytime. The folding and turning part was indeed the one I was most afraid of, but by following my step-by-step guide, you should be able to do it without getting lost. Following recommendations of a Pastry Chef friend, it’s important to take your time and leave the dough to rest/chill between turns, ideally once or twice during the process. For instance, start with 3 foldings and turnings the day before, and the remaining ones on the baking day.
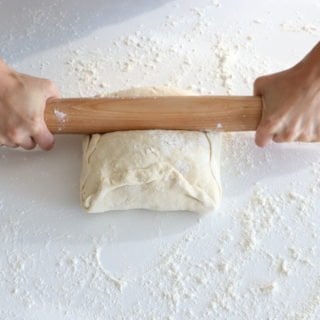
As for the second point, it’s important to be very careful when you flatten the dough so that the butter does not come through at any time. It would damage the dough and make the puff layers uneven, which of course you do not want here. The best way to avoid this phenomenon is to gently flatten the dough with a rolling pin instead of rolling and stretching it out. If by accident it happens to you, do not feel defeated and try to hide the buttery part inside the next folding so that it is trapped between two layers of dough.
When the puff pastry is ready to use, roll it out and cut 2 circles or a large rectangle, depending on what you want to use it for.
Puff Pastry – Step-by-step Guide
Puff Pastry (step-by-step guide)
- Prep Time: 12 hours
- Total Time: 12 hours
- Yield: 1 large puff pastry 1x
- Category: Cakes & Pies
- Cuisine: French
Learn how to master the technique of a puff pastry and prepare it from scratch with the help of this useful step-by-step guide. Your fruit pies and other pastries will reach a new level!
Ingredients
- 7 oz (200g) beurre manié (= 5.3 oz/150g room temperature butter + 1.7 oz/50g flour)
- 2 cups + 1 Tbsp (250g) all-purpose or pastry flour
- 5.3 oz (150g) water
- 1 pinch salt
Instructions
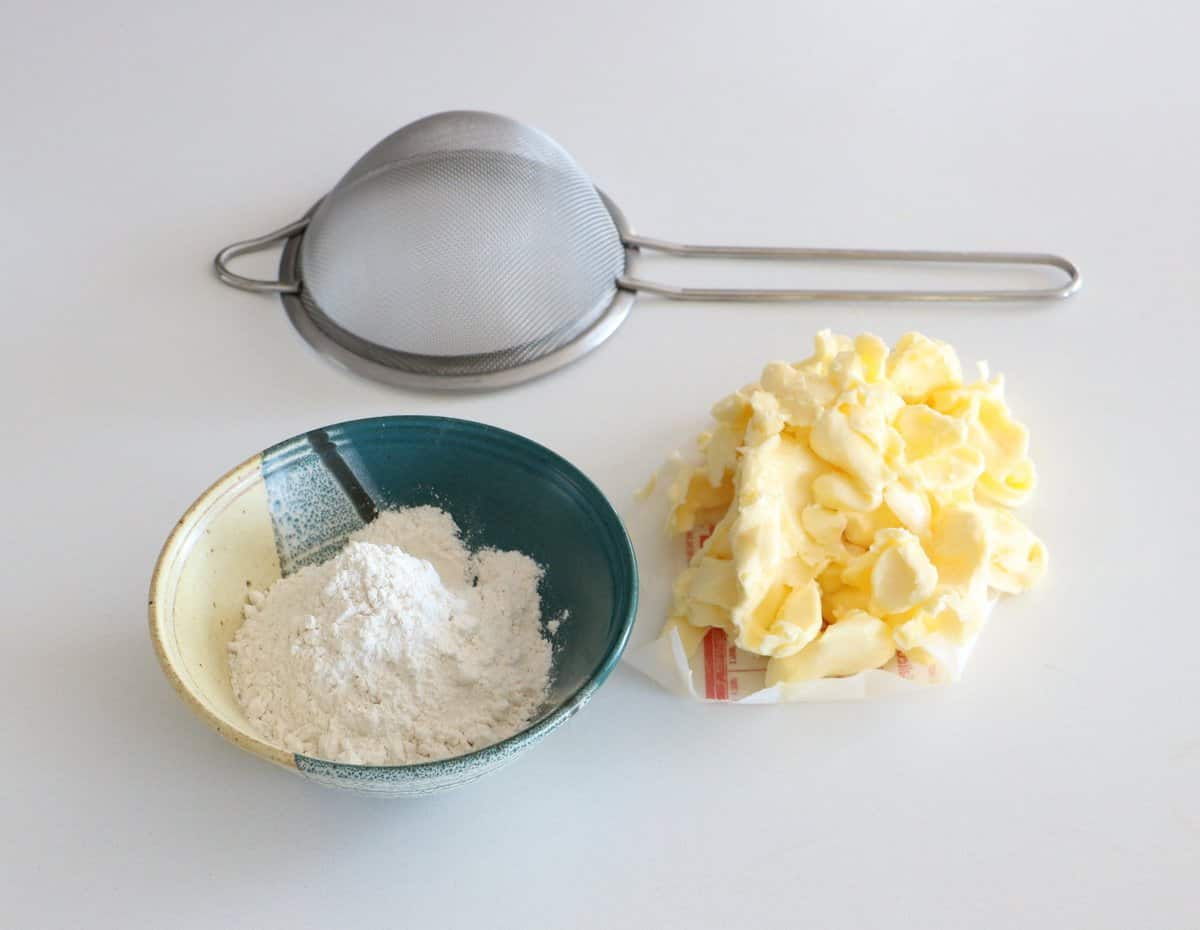
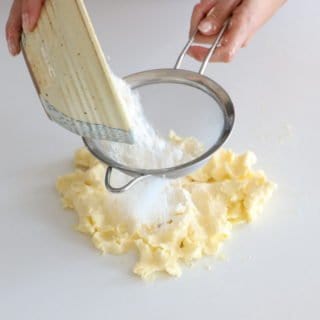
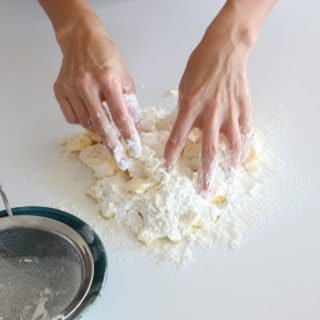
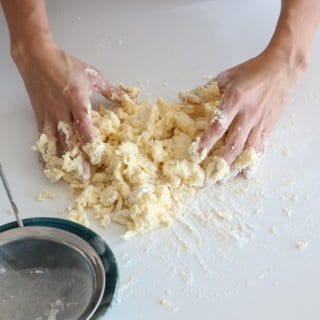
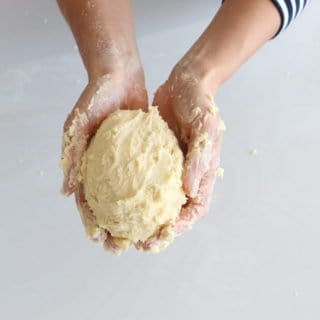
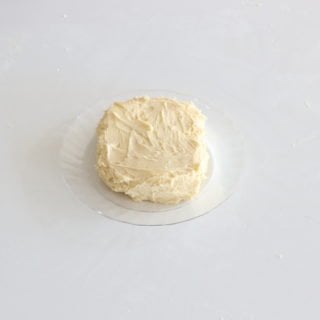
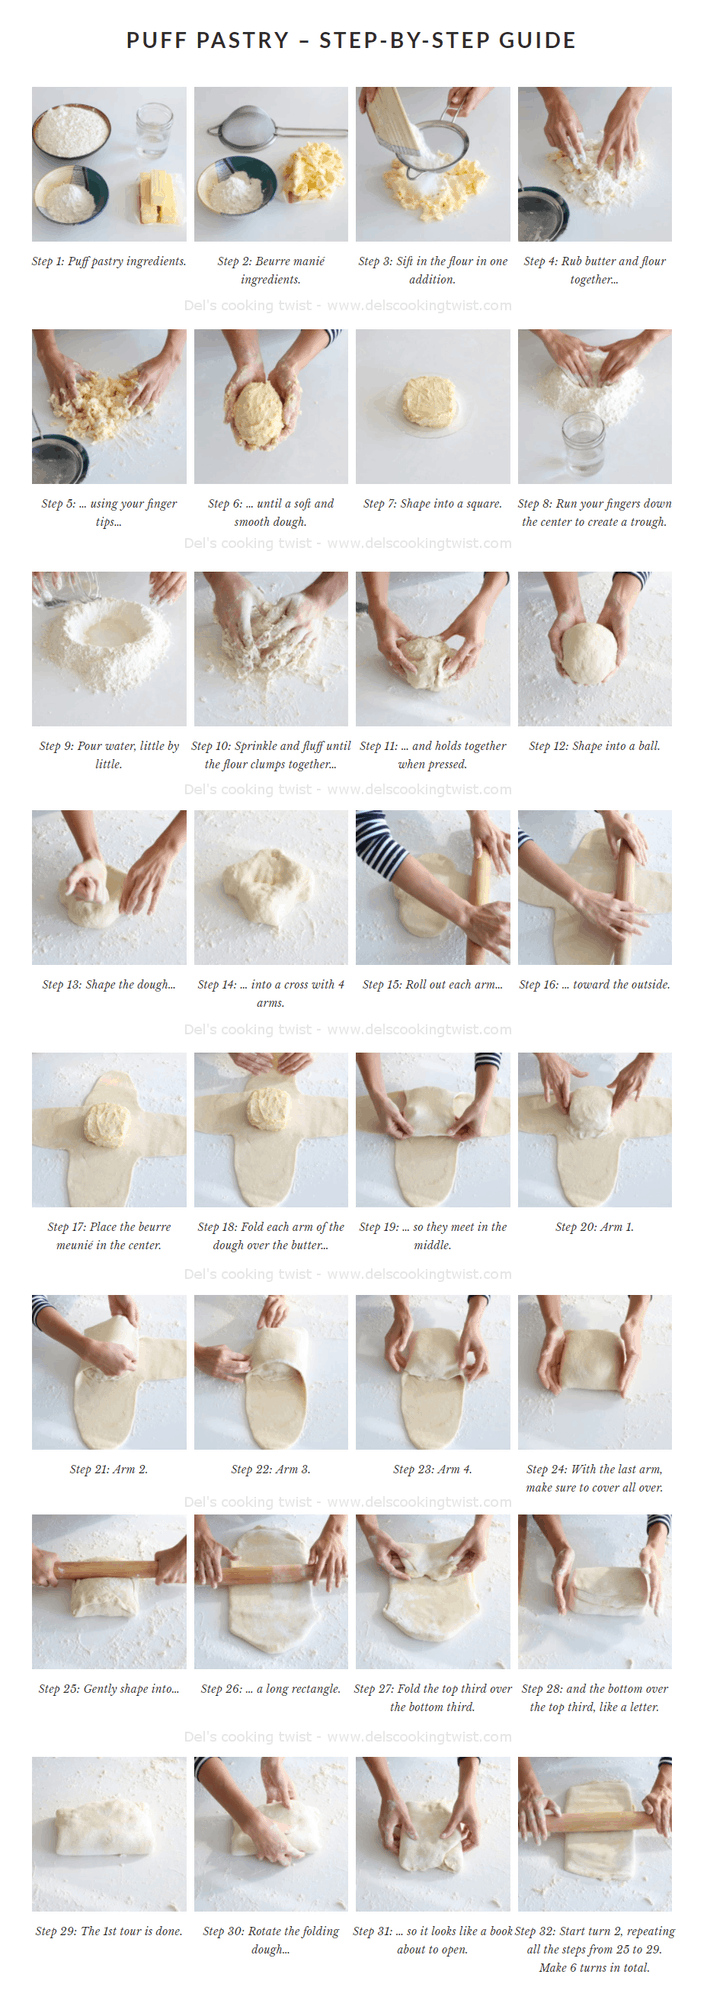
- BEURRE MANIÉ: rub buter with your finger tips, then add the flour in one addition. Rub in together butter and flour until a smooth dough. Shape into a thick, compact square. Wrap into cling film and place in the refrigerator.
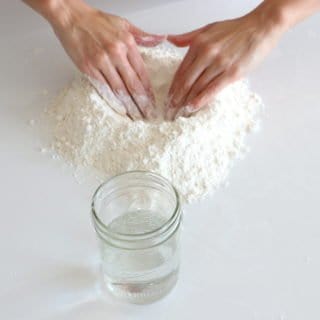
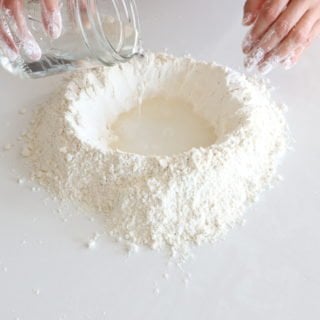
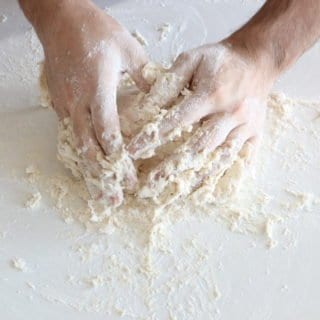
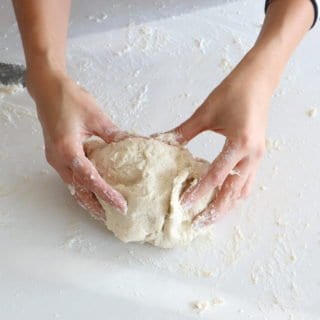
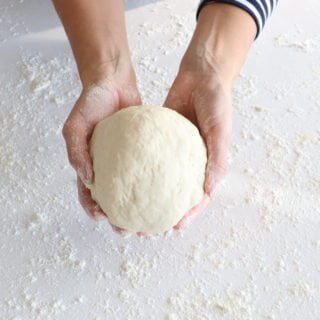
- PUFF PASTRY : mix the flour with the salt, then turn out onto your work surface in a pile. Run your fingers down the center to create a trough. Sprinkle 1 tablespoon of water into the trough. Quickly fluff the dough with your fingers, keeping your fingers loose and using a scooping motion. Gather the flour back in to a mound, create a trough, and add another tablespoon of water. Continue sprinkling and fluffing until the flour clumps together in large pieces and holds together when pressed.
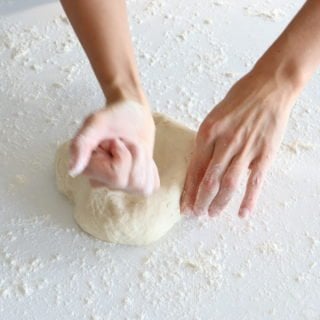
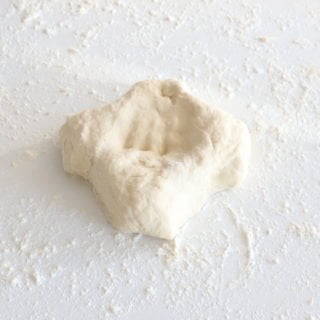
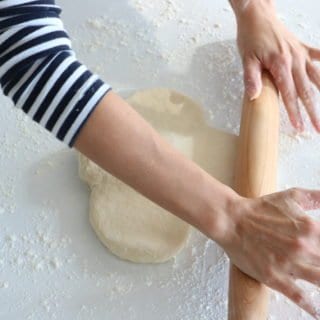
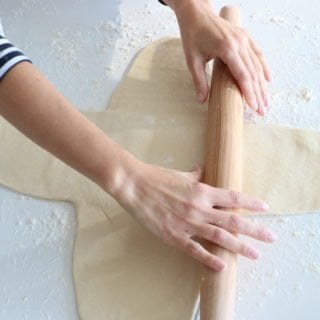
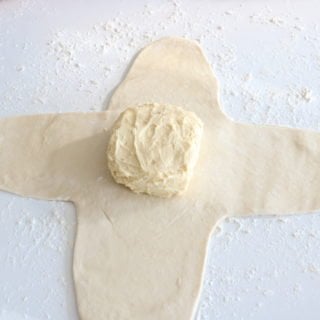
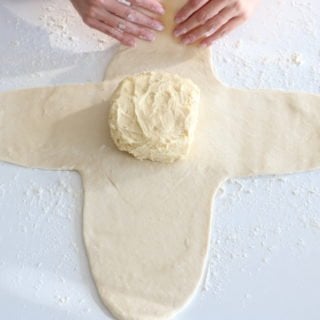
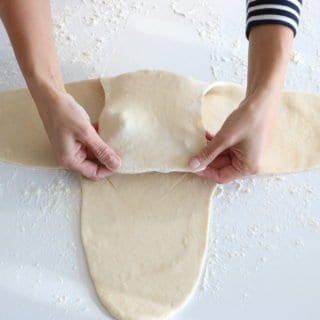
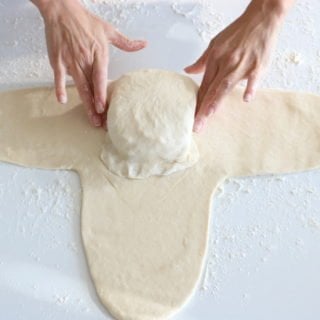
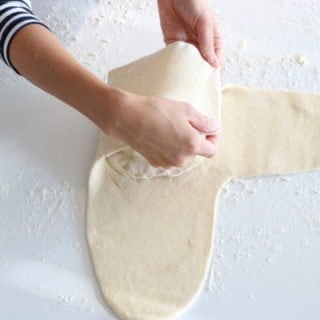
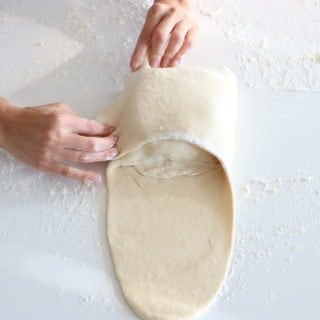
- Shape the dough into a cross with 4 arms, keeping the center part a little bit fluffy. Roll out each arm toward the outside, using a rolling pin. Place the beurre meunié in the center, then fold each arm of the dough over the butter so they meet in the middle. With the last arm, make sure to cover all over, including the sides.
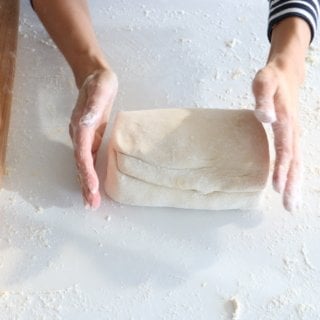
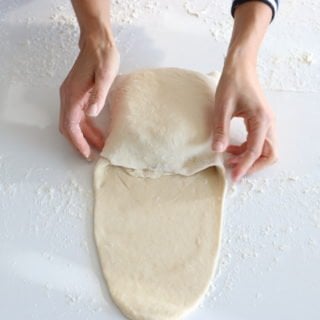
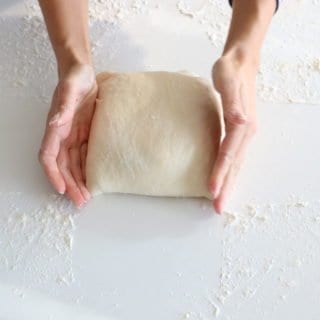
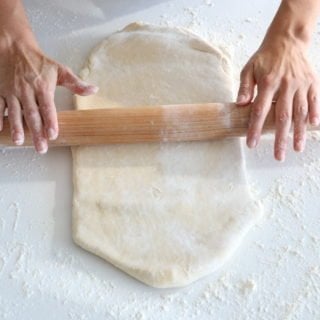
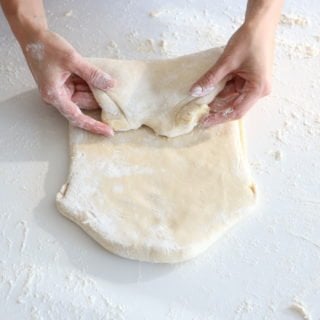
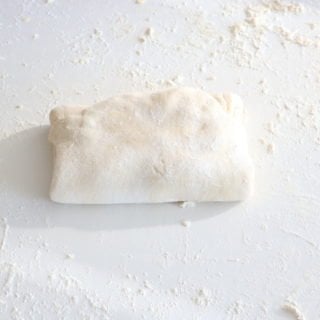
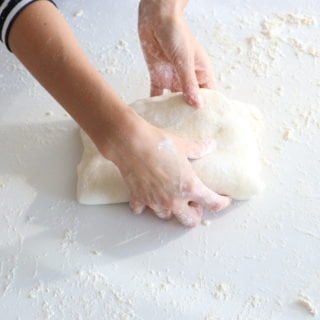
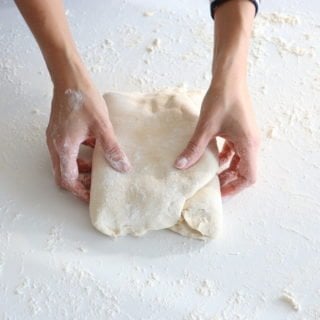
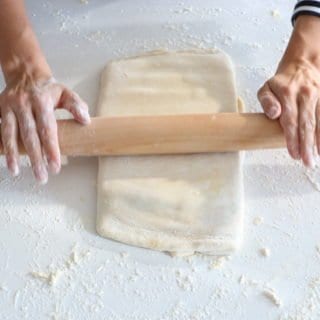
- For the 1st turn: using a rolling pin, gently shape into a long rectangle 12 inches by 6 inches ((30,5 X 15 cm), tapping the dough rather than rolling it, so that you spread the butter from inside without piercing the dough. Fold the top third over the bottom third, and the bottom over the top third, like a letter. The first tour is done.
- For the other turns: rotate the folded dough so it looks like a book about to be opened. Roll it out again into a rectangle 12 inches by 6 inches. Fold it again. Make 6 turns in total. My advice: start with 3 tours, then wrap the dough into cling film and place in the refrigerator. Remove a few hours later, ideally the day after, and make the 3 remaining turns.
Did you make this recipe?
Lastly, if you make this Puff Pastry (step-by-step guide), be sure to leave a comment and give this recipe a rating, letting me know how you liked it. And of course, don’t forget to tag me on Instagram! Thank you and enjoy!
Pin it for later:



Kathryn
Excellent .
Del’s Cooking Twist
Thank you
Jyosh
I have seen so many different recipes for making puff pastry dough. Every recipe recommends the dough to be kept in refrigerator for 30 minutes between every fold. But why is that you haven’t mentioned anything about freezing? Can you please clarify ?
Sue, Sureerat C.
Hello there . (Del)
Greeting from Bangkok, Thailand. This weekend coming I would like to make a croissants whether I could use your recipe, but you don’t add any yeast in the recipe. Will it be ok for the croissants. I’m just wondering it. Look forward to receiving your reply.
Many thanks. Cheers!
Sue
Delphine Fortin
Hi Sue! I’m glad to hear I have readers from Bangkok too! Yes, yeast is indeed important in the croissant recipe and you would need to make a few adjustments to the puff pastry recipe. You can still keep it in mind for the folding part though. Should I create an entire croissant recipe as well one day? I guess I should 🙂
Sue, Sureerat C.
Yep, Del. I agree with you if you can make the croissant recipe . It is wonderful.I have been a subscriber along with you. Hopefully you will make it soon. Please make it simple step (like a puff pastry above), but the fantastic result. Look forward to it. Thanks 🙂
Cheers!
Sue
Elizabeth
I agree. It would be a great project.
Twice Pear Puff Turnovers is what I am trying to make today with the nice autumn pears on Vancouver Island, Canada. I will return here to hopefully see a new recipe for croissant. I can not get a good flaky one anywhere here. I will make them, if Del shows us how.
Rosenoisettes
Vraiment superbe ce pas à pas !
L’avantage d’avoir un plan de travail blanc est que l’on peut faire plein de belles photos tuto 🙂
Tu vas réaliser des croissants ou pains au chocolat avec pour le goûter ?
Bises
Delphine Fortin
Eh non pas de croissants ou pains au chocolat encore… Affaire à suivre 🙂